Up To ScratchMobile car body repairs 07855 866684 Call James

Home / Our work

Start to finish · before and after

Our work

Repairs from start to finish, before and after photos, and cars masked up for paint on the drive. Call James for a quote on 07855 866684.

Start to finish

Repairs, step by step

Some of our repairs from start to finish: the damage, the filler and primer, the paint and the finished job.

Ford Puma orange wing and bumper

From the dent in the front wing to the finished paint, in ten photos.
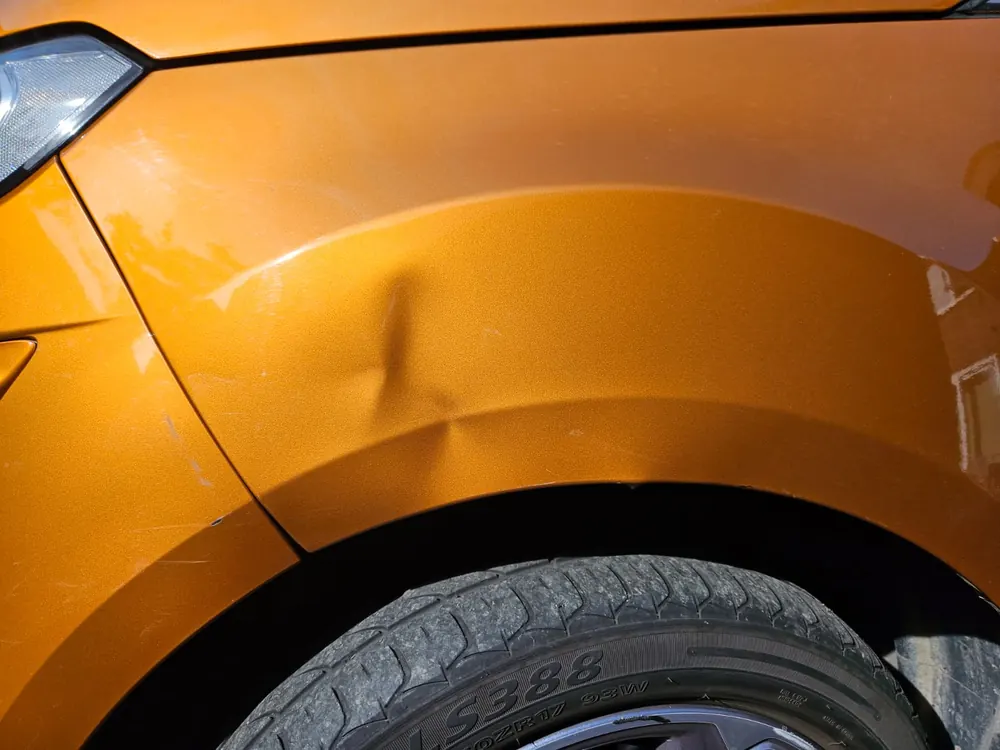
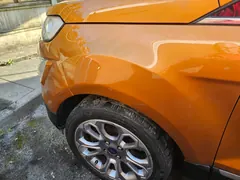
  1. An orange Ford Puma's front wing with a sharp dent creased into it above the wheel arch
    Photo 1 of 10: Before A dent creased into the front wing, just above the wheel.
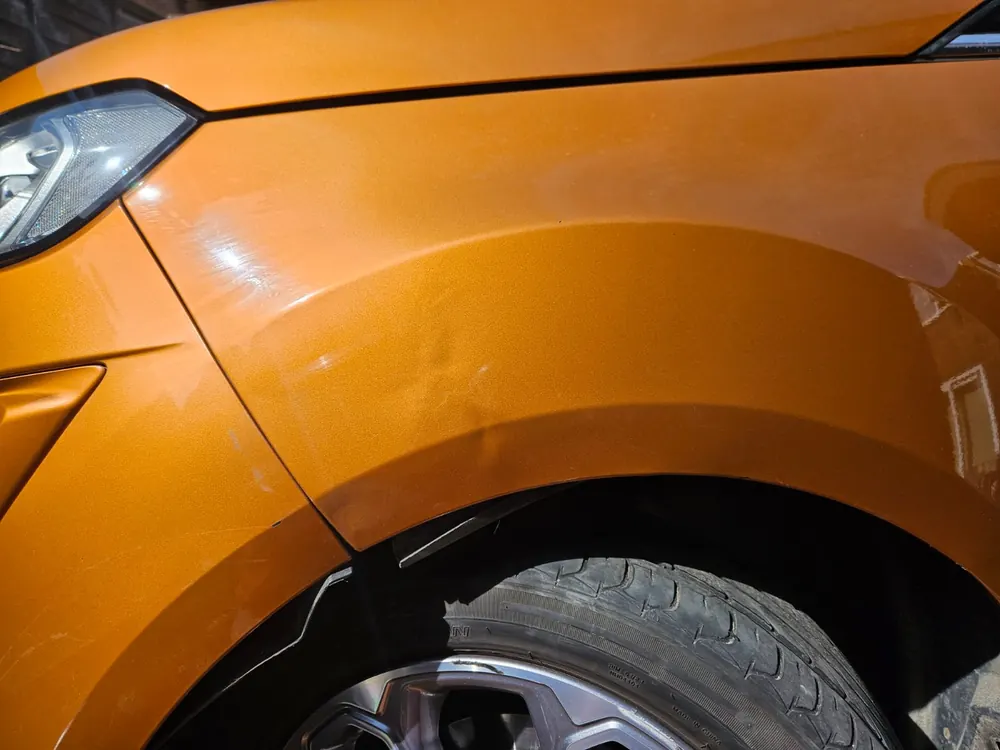
  2. The dented front wing of the orange Puma from another angle, the dent catching the light
    Photo 2 of 10: Before The same dent, from further along the wing.
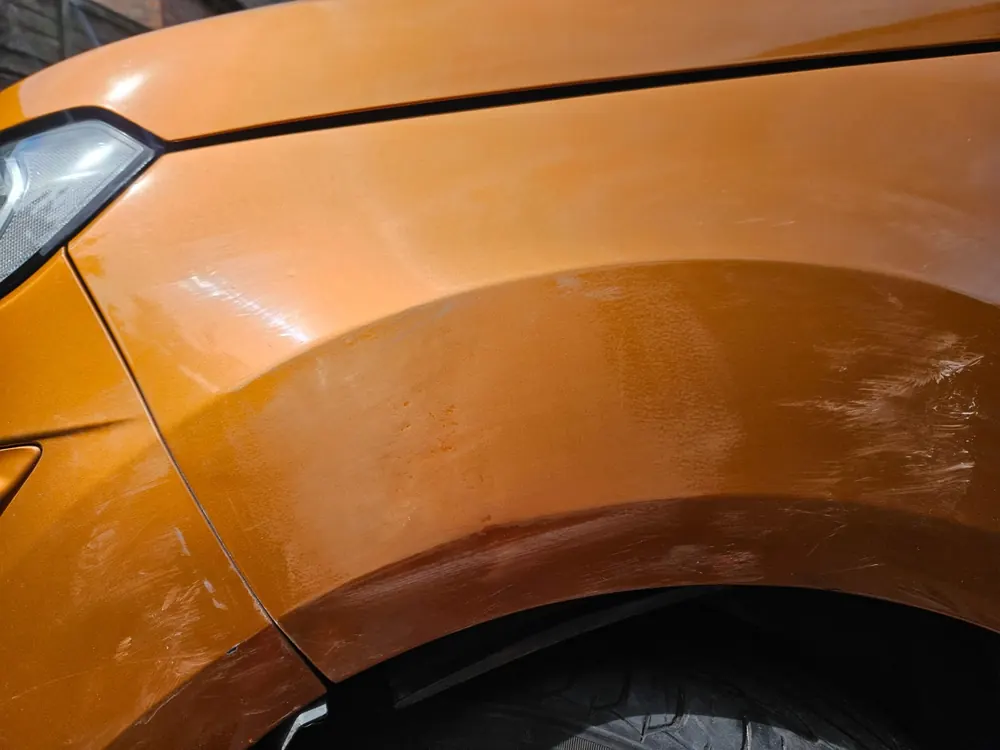
  3. Scuffs and scratches on the orange wing and the bumper corner beside the wheel arch
    Photo 3 of 10: Before Scuffs and scratches on the wing and the bumper corner.
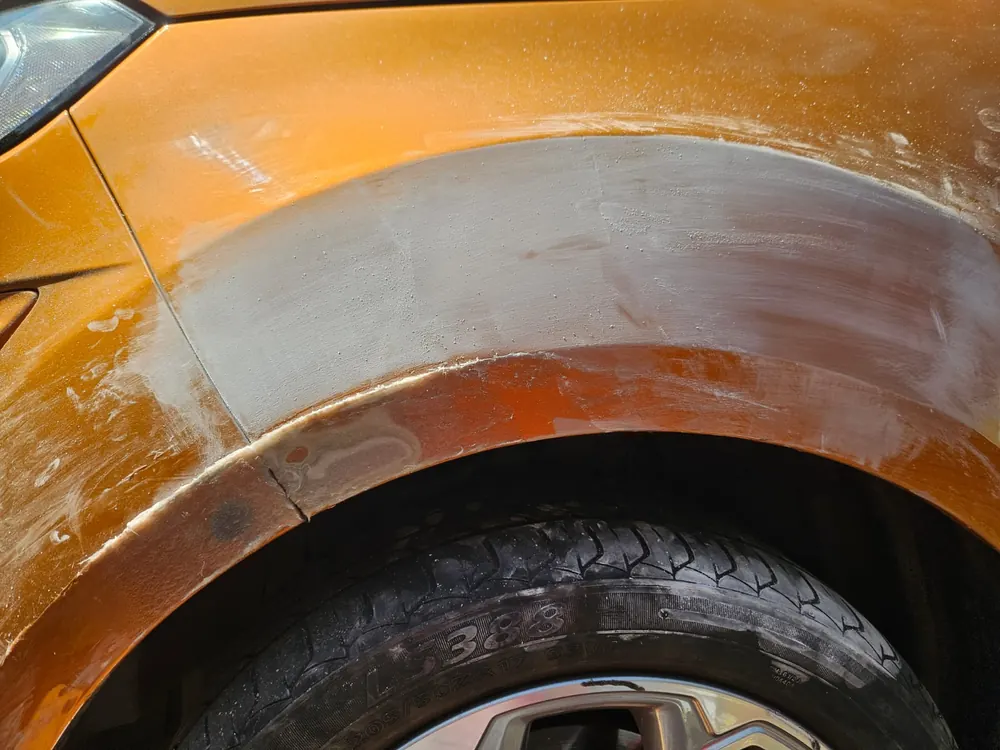
  4. The wing sanded back, with a grey patch of filler over the dent and scuffed orange paint round it
    Photo 4 of 10: Sanded and filled The wing sanded back, with filler over the dent.
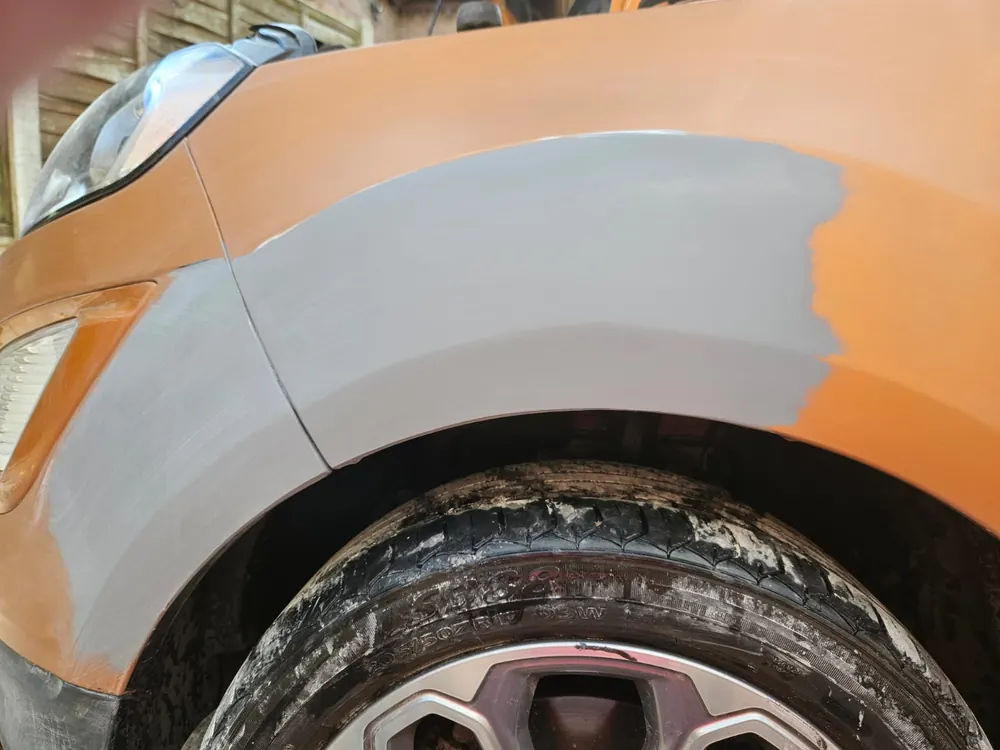
  5. Grey primer over the repaired wing and the corner of the bumper, the rest of the car still orange
    Photo 5 of 10: Primer Grey primer over the wing and the bumper corner.
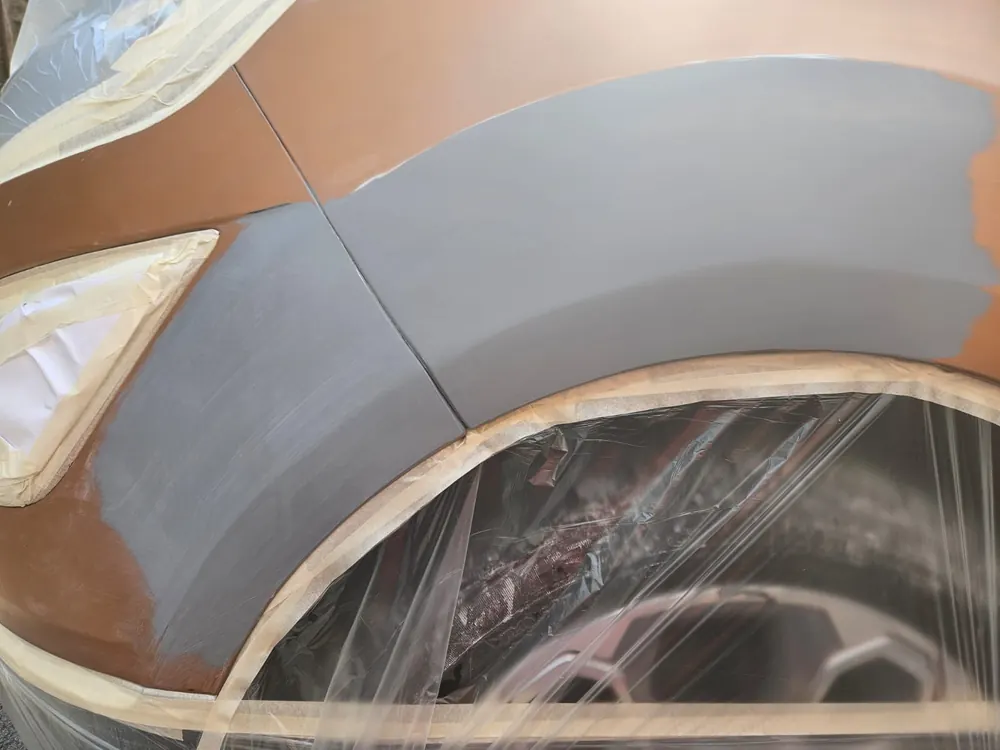
  6. The primed wing and bumper corner masked off with tape and plastic, the wheel covered
    Photo 6 of 10: Masked up Masked off, with the wheel and arch covered.
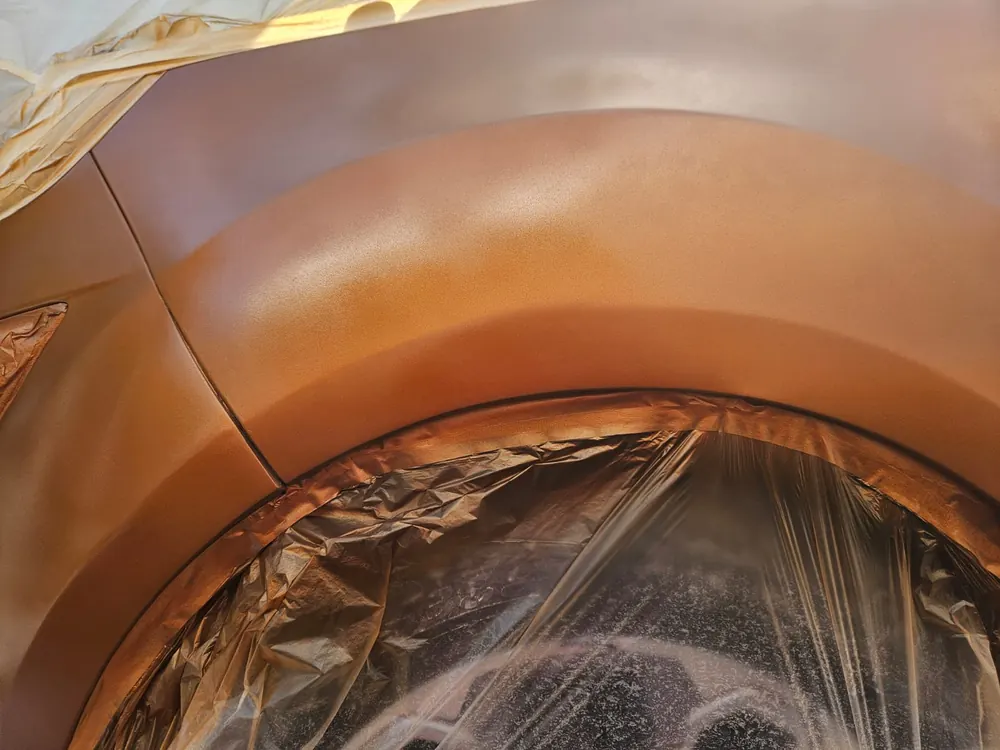
  7. The wing sprayed orange again, matt, with the masking still on
    Photo 7 of 10: Colour on The orange colour sprayed on, still matt.
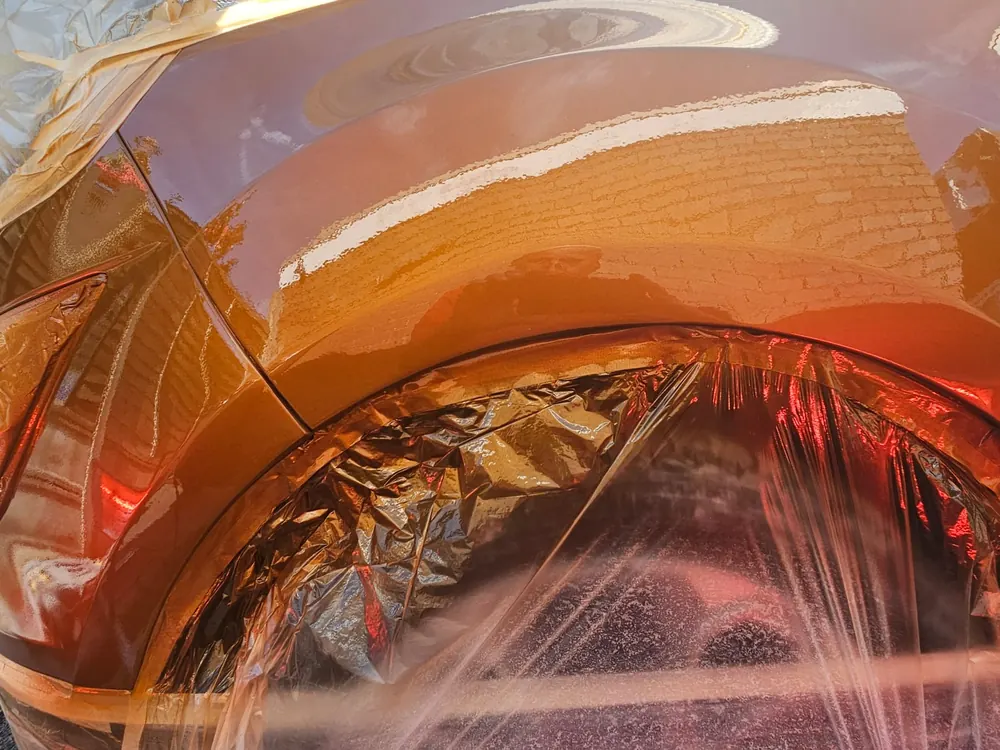
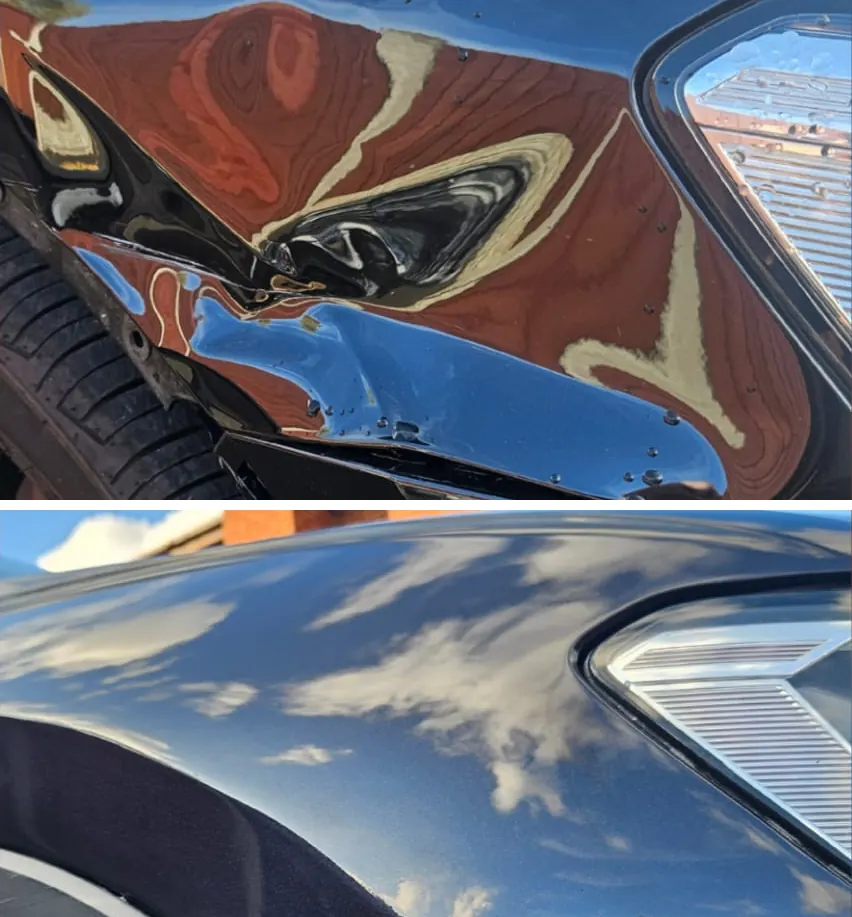
  8. The wing glossy with lacquer and reflecting a brick building, the masking still on
    Photo 8 of 10: Lacquer The lacquer on, glossy enough to reflect the brickwork.
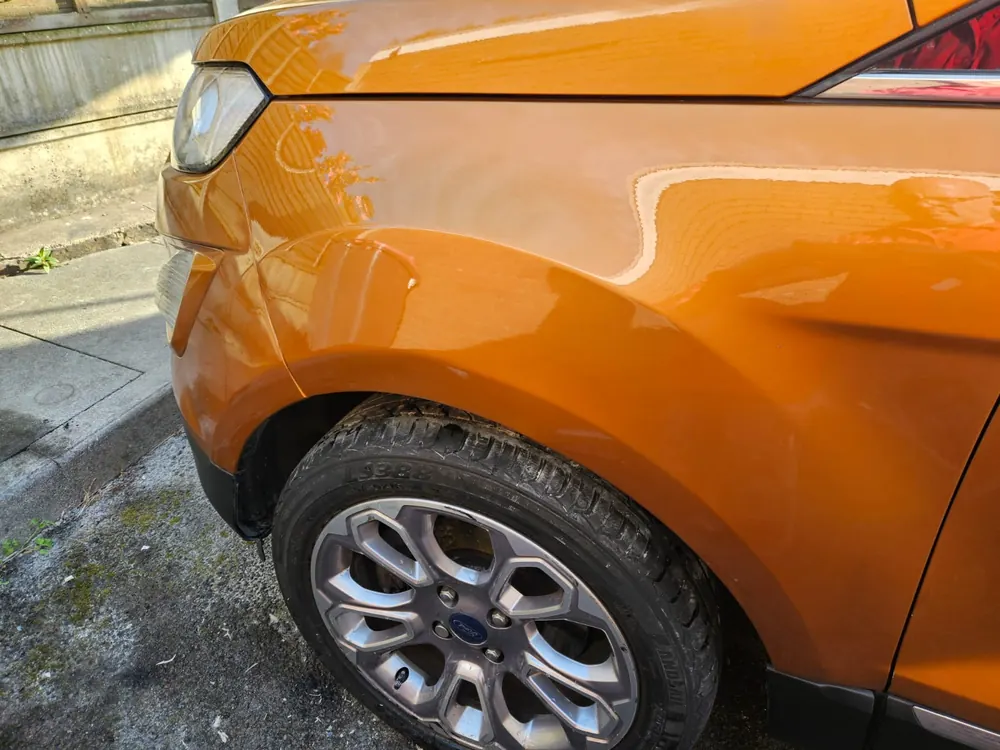
  9. The finished orange wing and bumper, unmasked, the car parked beside a pavement
    Photo 9 of 10: Finished The masking off: the finished wing and bumper.
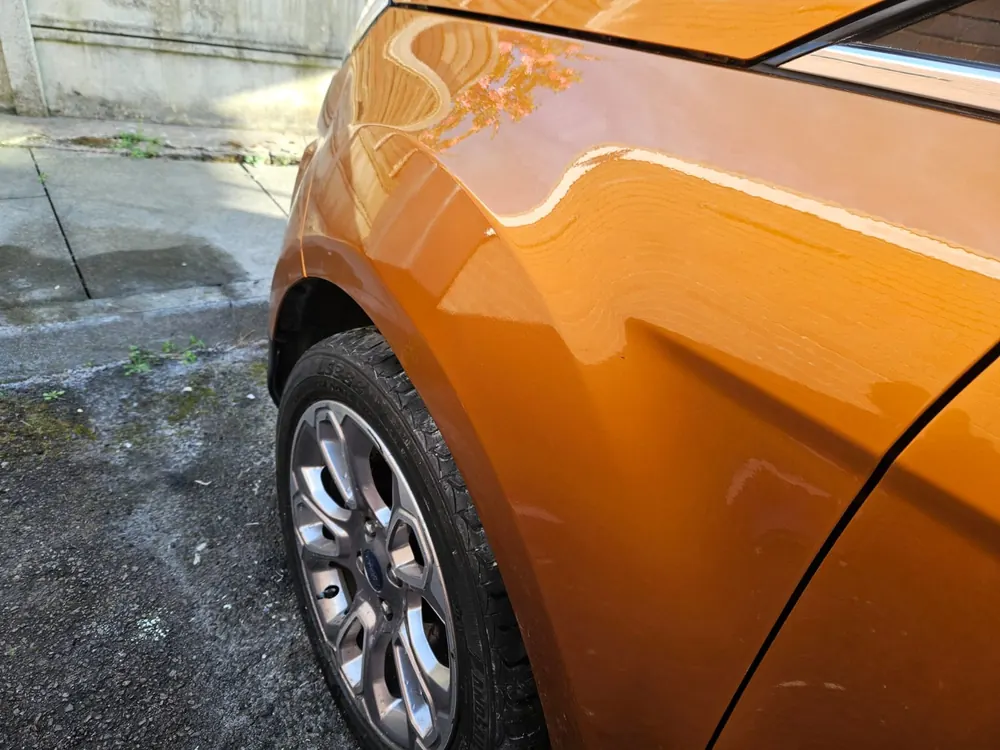
  10. The finished front wing from nearer the front of the car, its reflections running smoothly
    Photo 10 of 10: Finished The finished wing, from nearer the front.
Honda Jazz dent

A dent and a spot of rust low on the tailgate, put right in eight photos.

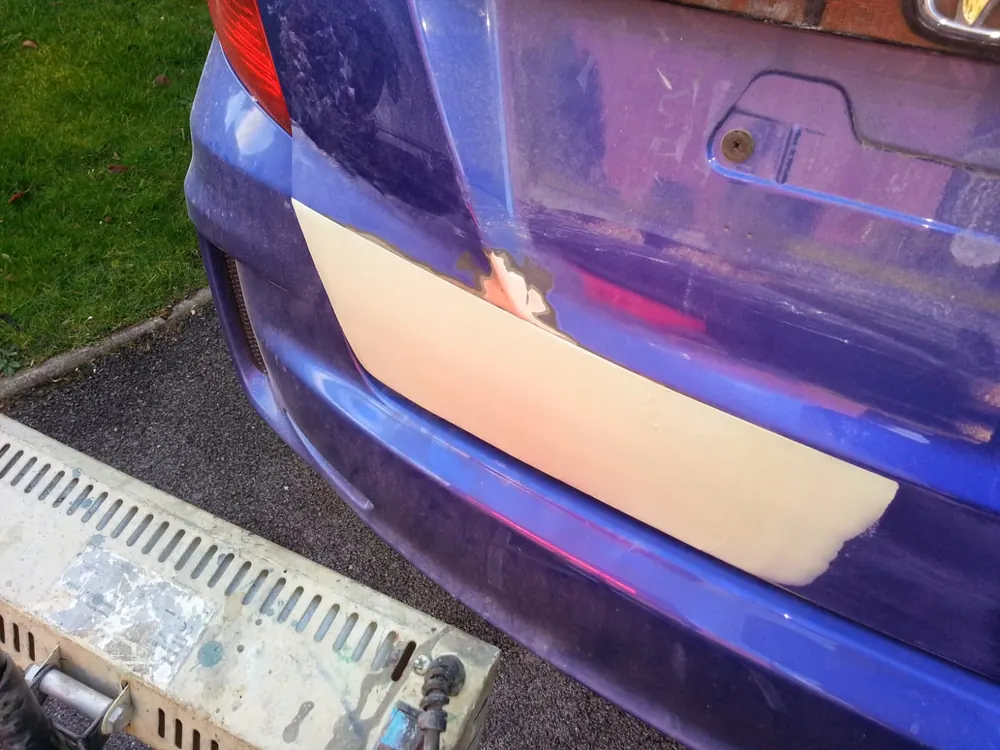
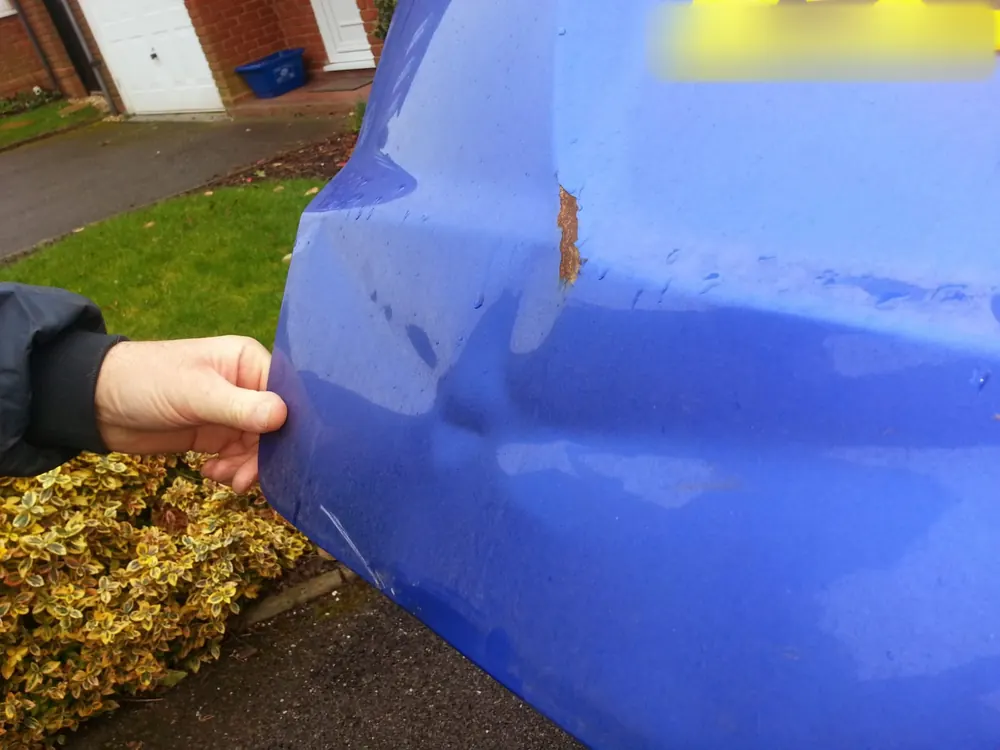
  1. The lower edge of a blue Honda Jazz's tailgate with a dent and a spot of rust, a hand at its edge
    Photo 1 of 8: Before A dent and a spot of rust low on the tailgate.
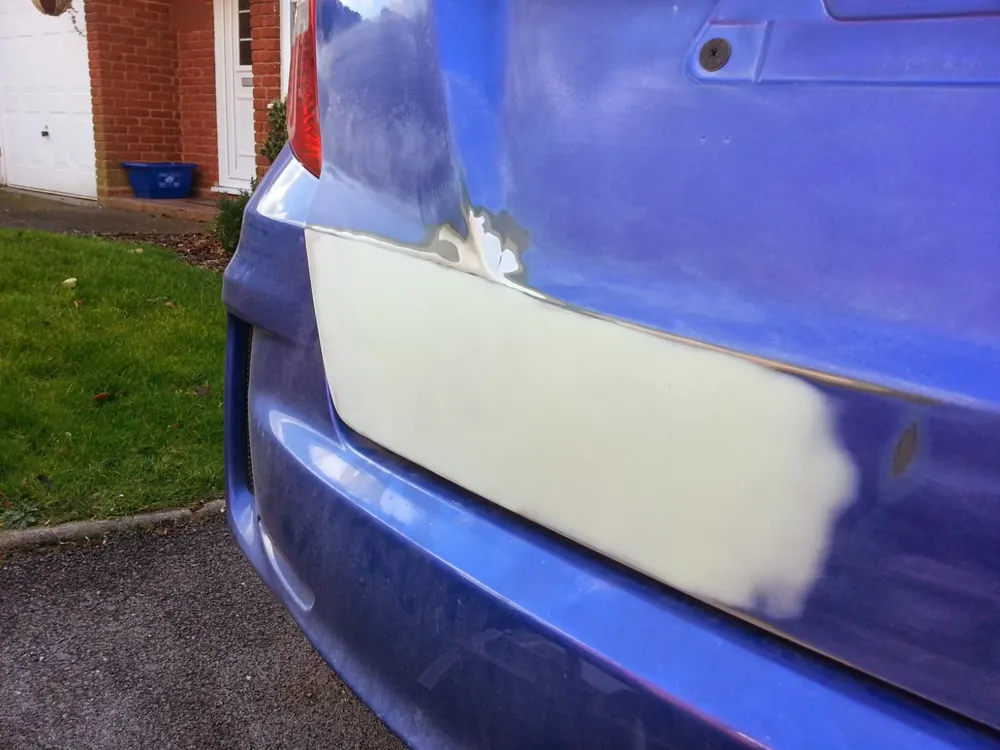
  2. The lower tailgate covered with a smooth panel of pale filler, a heater lamp below it
    Photo 2 of 8: Filler Filler over the repair, sanded flat.
  3. The same area in pale primer, blended out at its edges into the blue paint
    Photo 3 of 8: Primer Primer over the filler, blended into the paint.
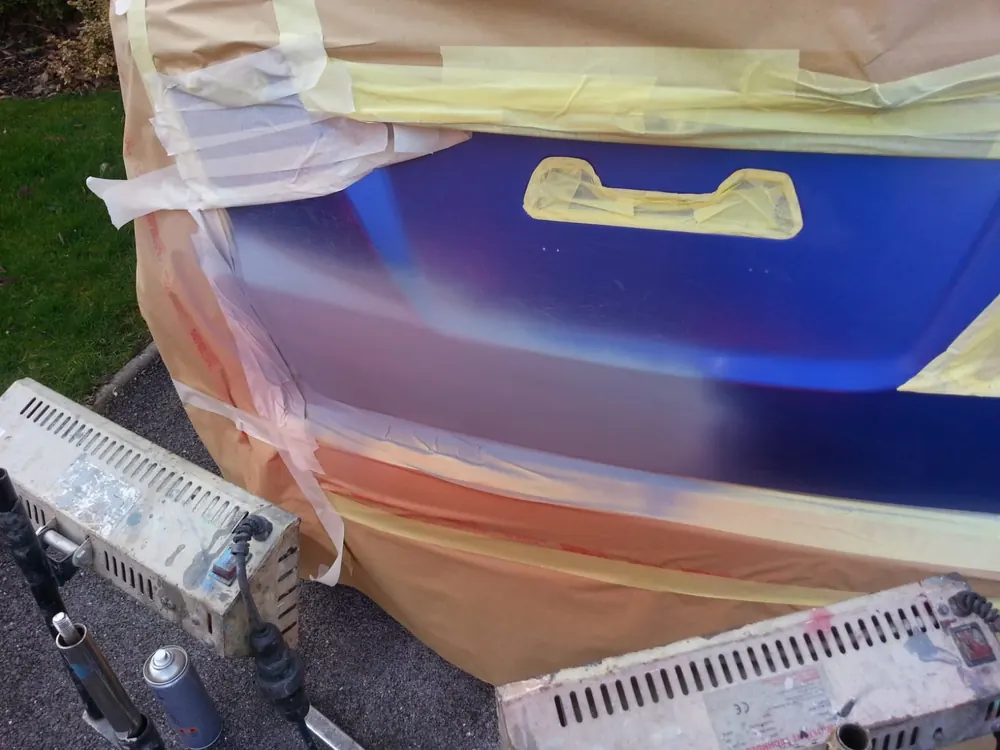
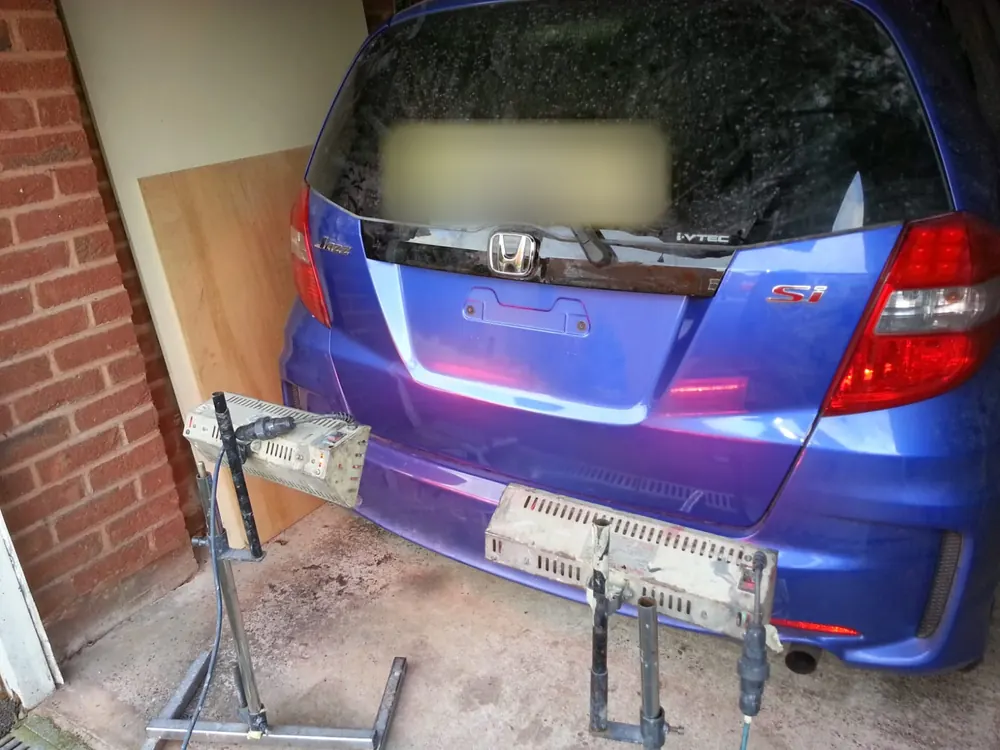
  4. The tailgate masked off with paper and tape, two heater lamps on stands below
    Photo 4 of 8: Masked up Masked off for paint, with two heater lamps.
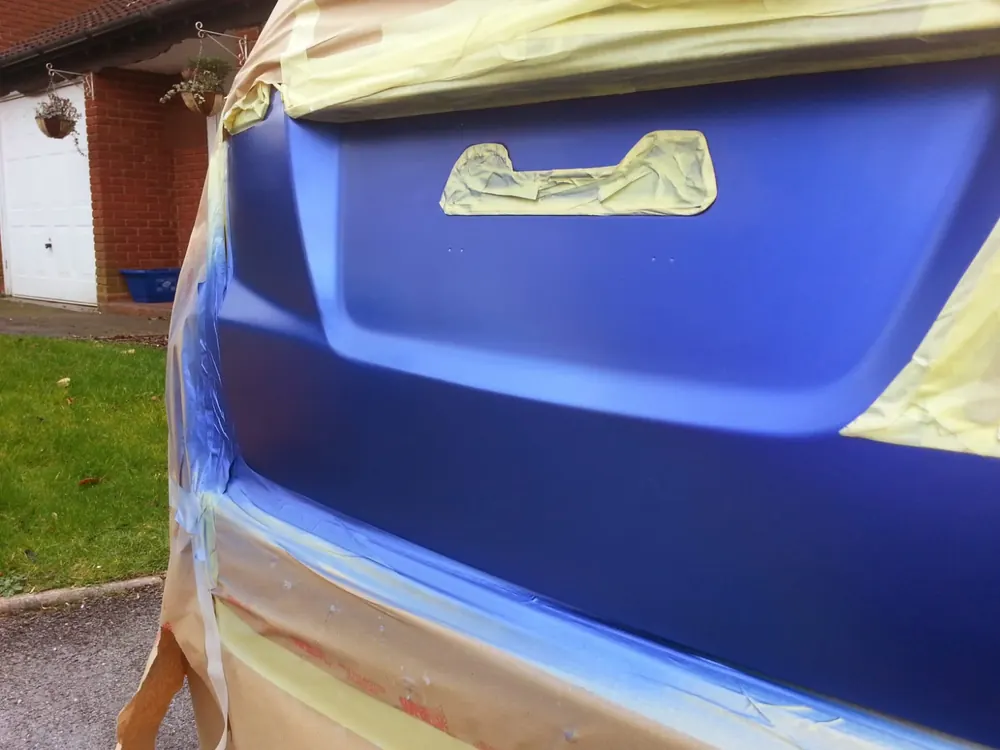
  5. Close up of the freshly painted blue tailgate, the handle and edges still masked
    Photo 5 of 8: Painted Painted, with the handle and edges still masked.
  6. The Jazz in a garage with two heater lamps on stands aimed at the tailgate, its number plate blurred
    Photo 6 of 8: Under the lamps In the garage, under the heater lamps.
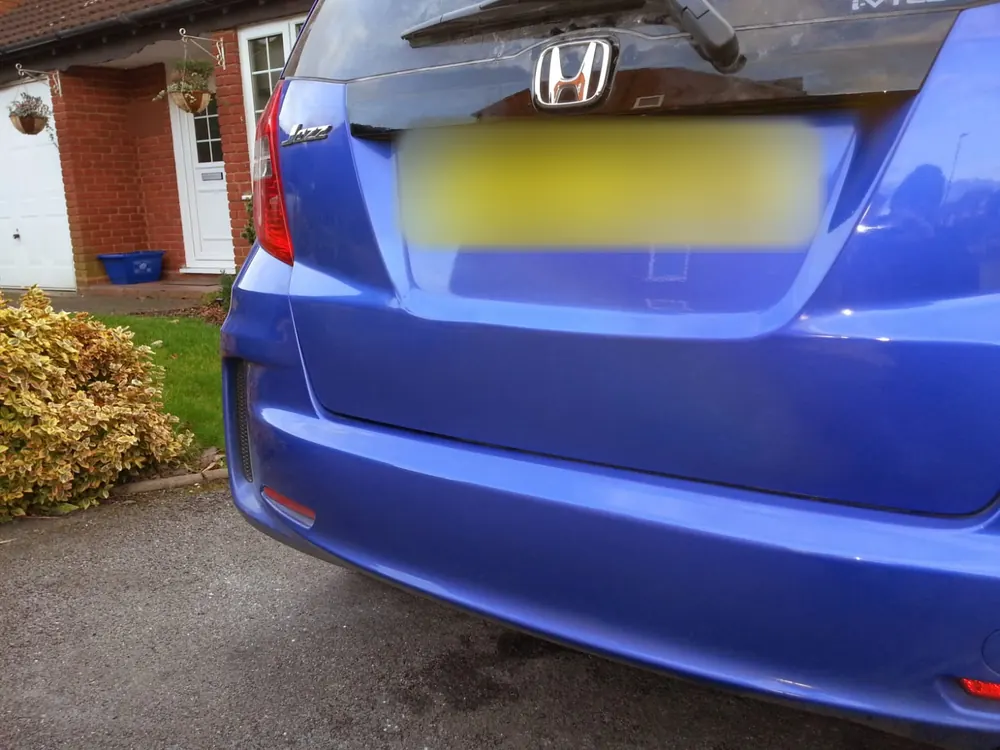
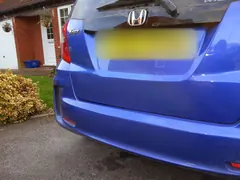
  7. The finished tailgate of the blue Honda Jazz on a driveway, its number plate blurred
    Photo 7 of 8: Finished Finished, and back on the drive.
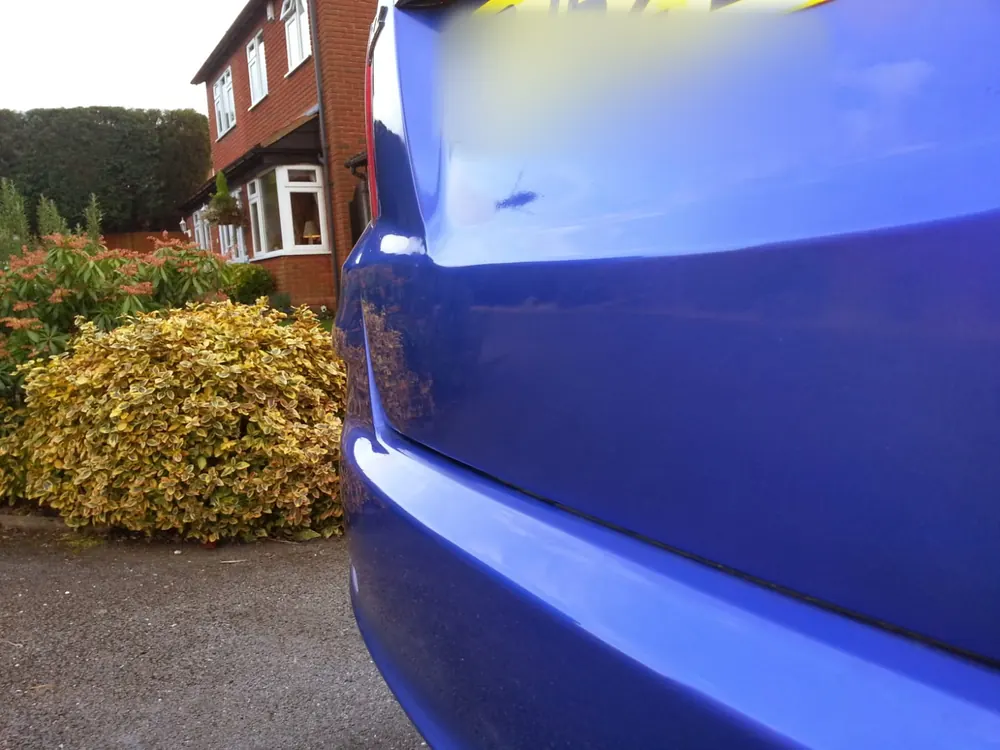
  8. A low view along the finished tailgate, the paint smooth and even
    Photo 8 of 8: Finished Along the finished panel.

Bumper split and dent

A deep dent and a split in a rear bumper, from start to finish.

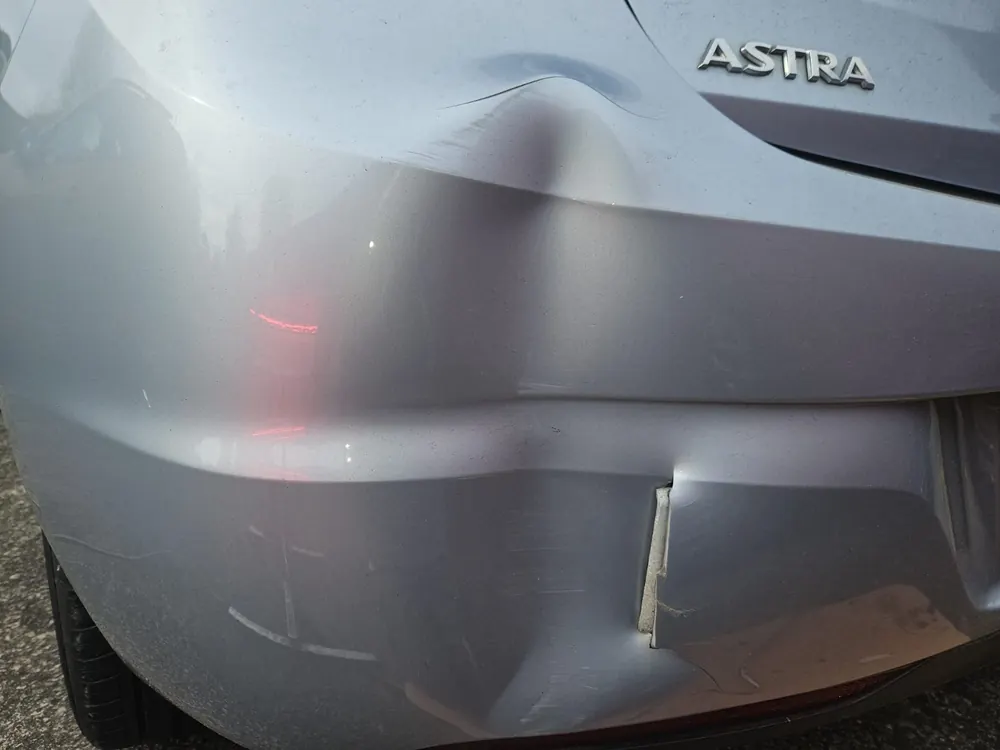
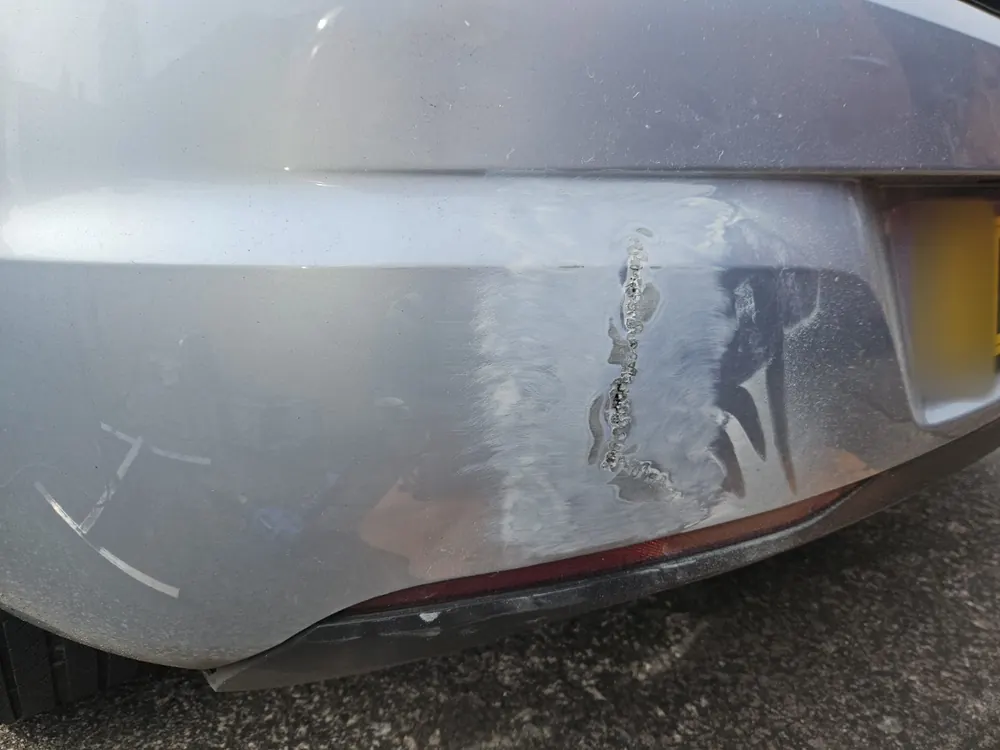
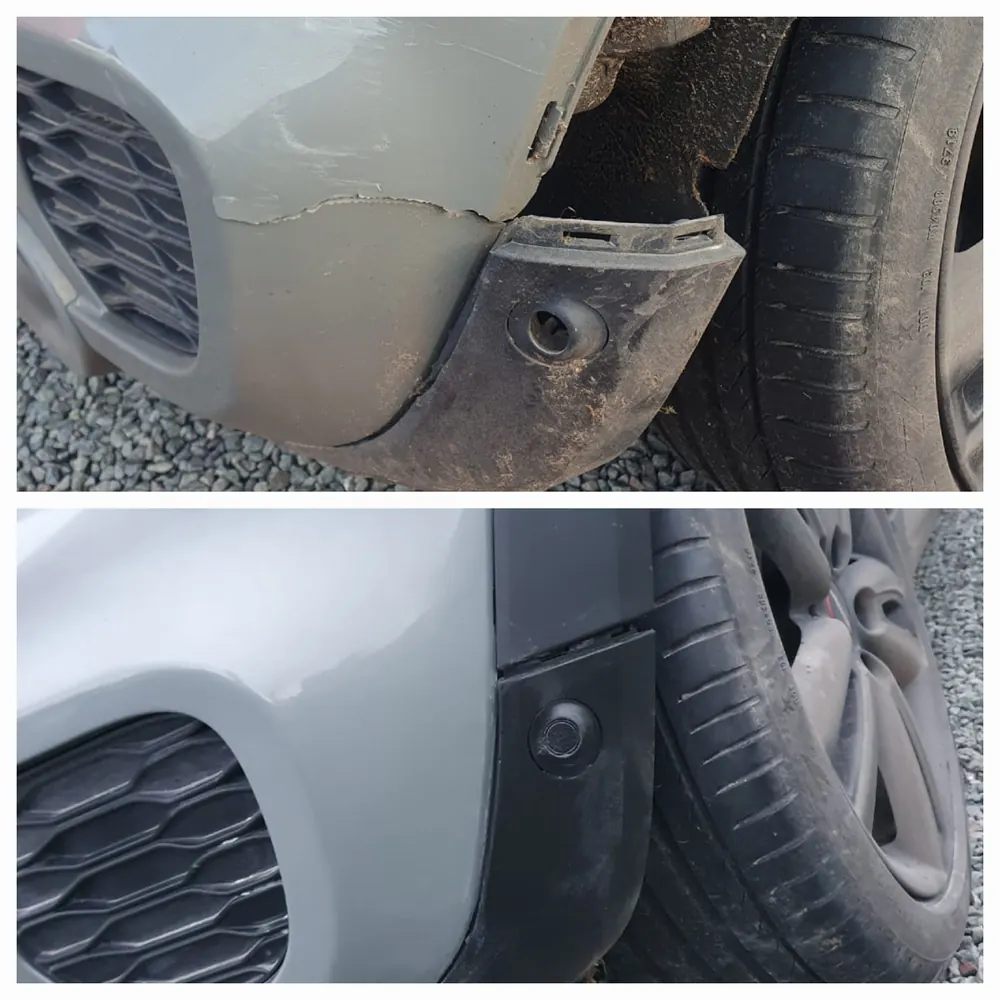
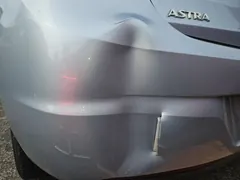
  1. A silver Vauxhall Astra's rear bumper with a deep dent pushed into it and a split low down
    Photo 1 of 8: Before A deep dent and a split in the rear bumper.
  2. The bumper sanded back round the jagged split, the edge of the number plate blurred
    Photo 2 of 8: Sanded Sanded back round the split.
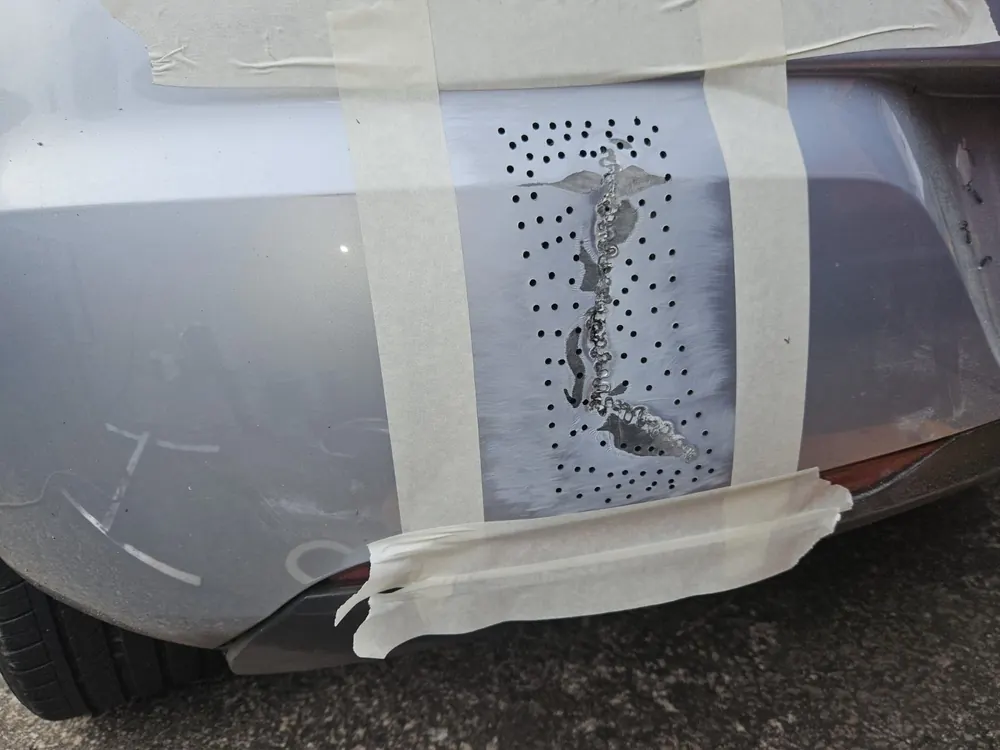
  3. The split close up, taped round, with rows of small dark dots in the plastic either side of it
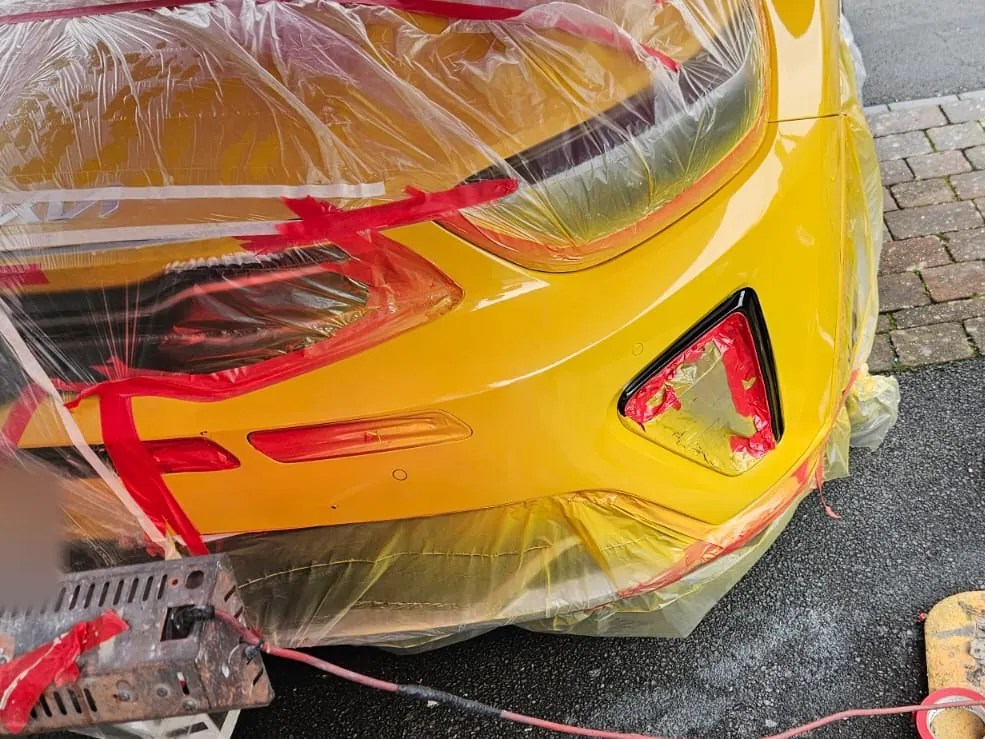
    Photo 3 of 8: The split The split close up, taped round for the repair.
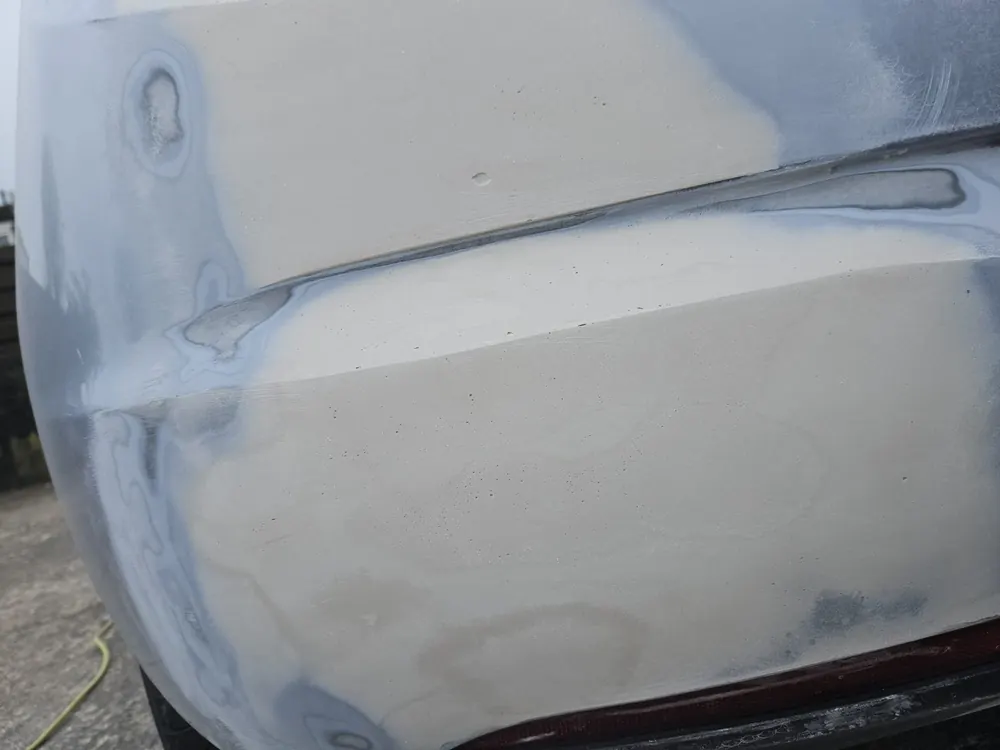
  4. The bumper with pale filler spread over the repaired area
    Photo 4 of 8: Filler Filler over the repair.
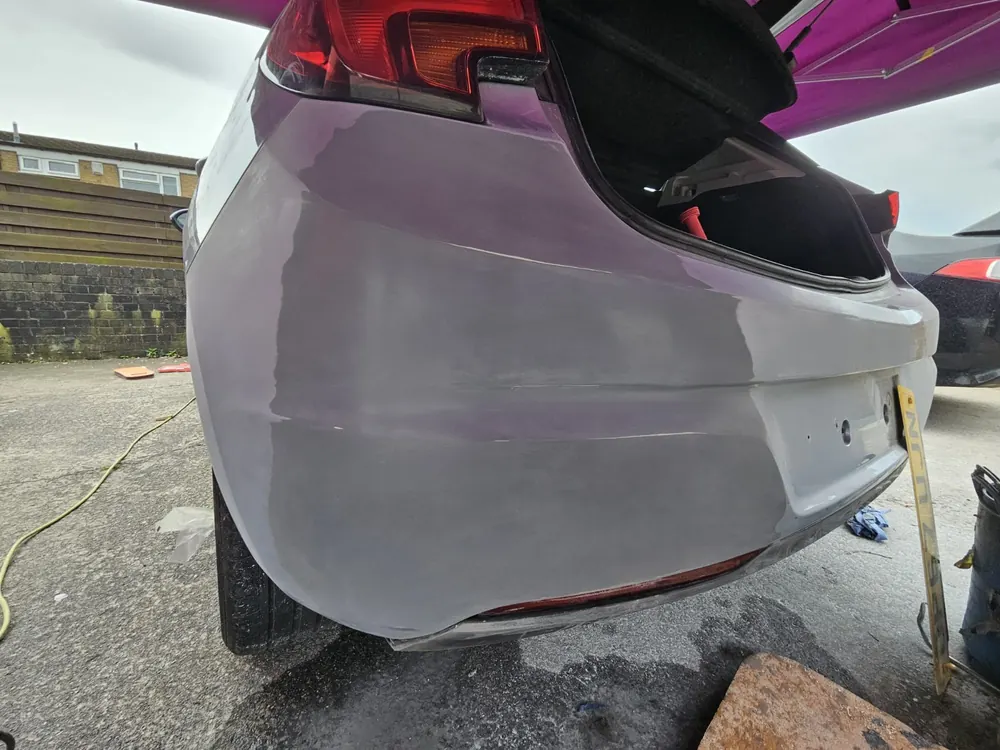
  5. The rear bumper with grey primer over the repaired area, the boot open
    Photo 5 of 8: Primer Primer over the repaired area.
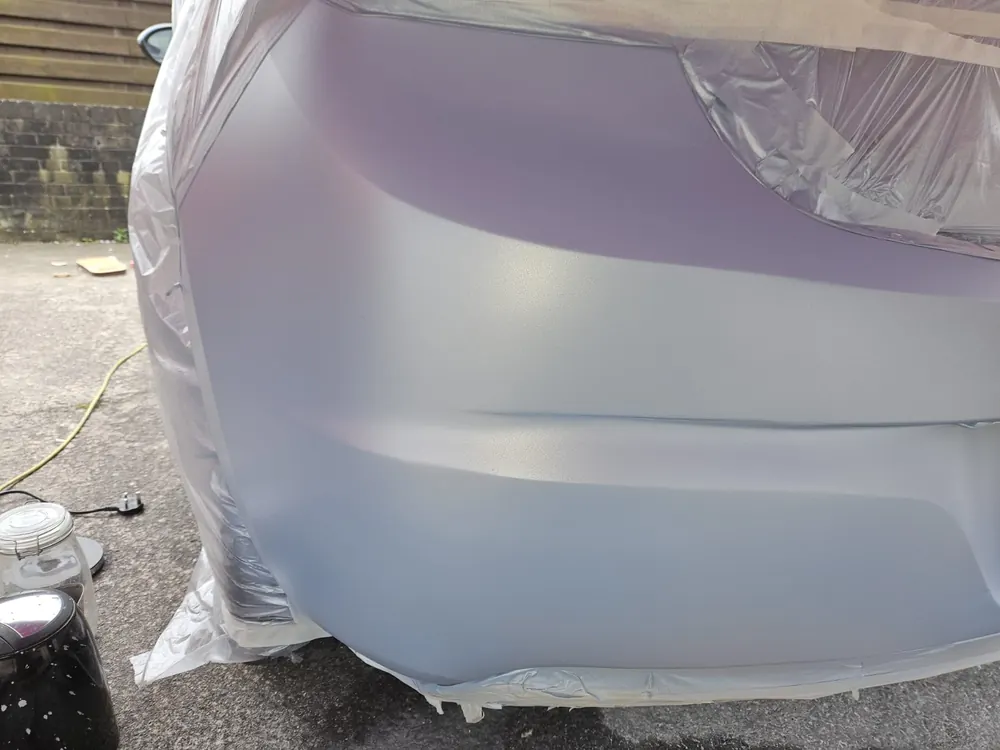
  6. The bumper sprayed silver, matt, with plastic sheeting masking the rest of the car
    Photo 6 of 8: Colour on The silver on, matt, the car masked.
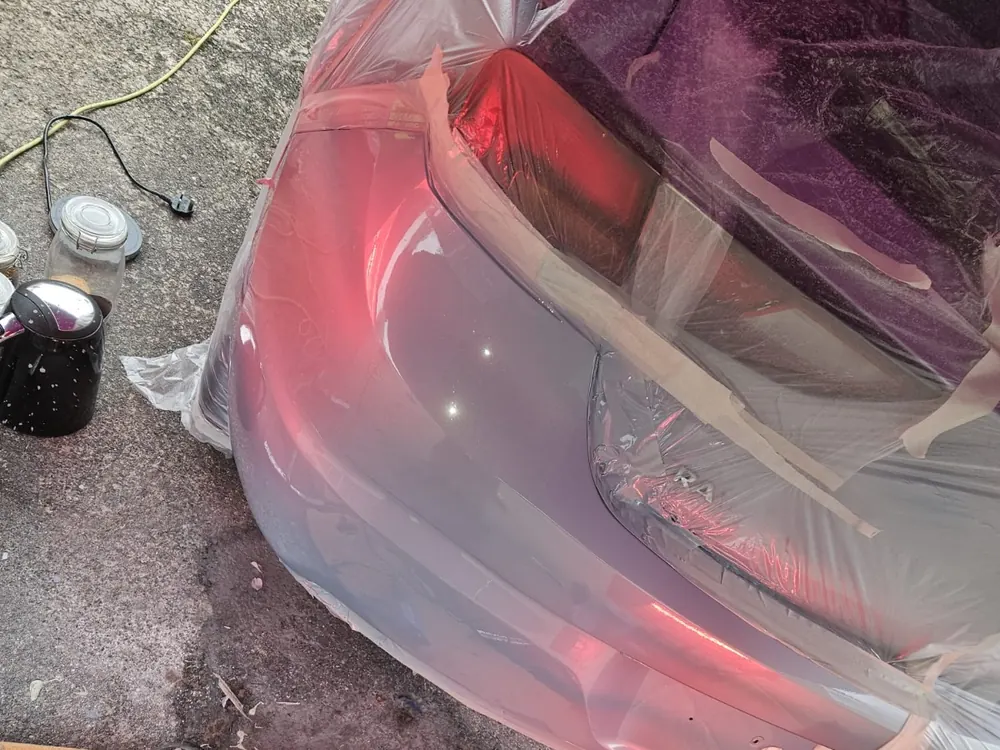
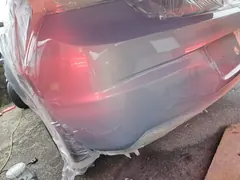
  7. The bumper glossy with lacquer, the masking still on, with a red glow reflected in the paint
    Photo 7 of 8: Lacquer Lacquered and glossy, still masked.
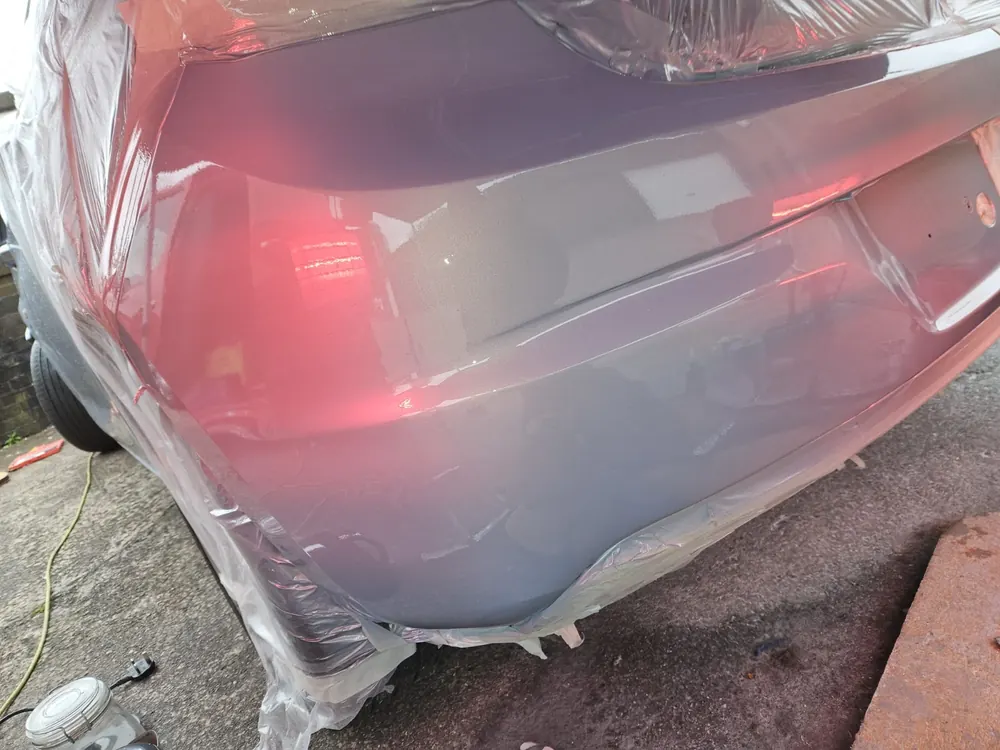
  8. Close up of the glossy repaired bumper, the plastic masking still round it
    Photo 8 of 8: The finish The finished bumper, before the masking comes off.

Bumper brought back from the brink

A torn lower bumper and broken trim, taken off, repaired and put back.

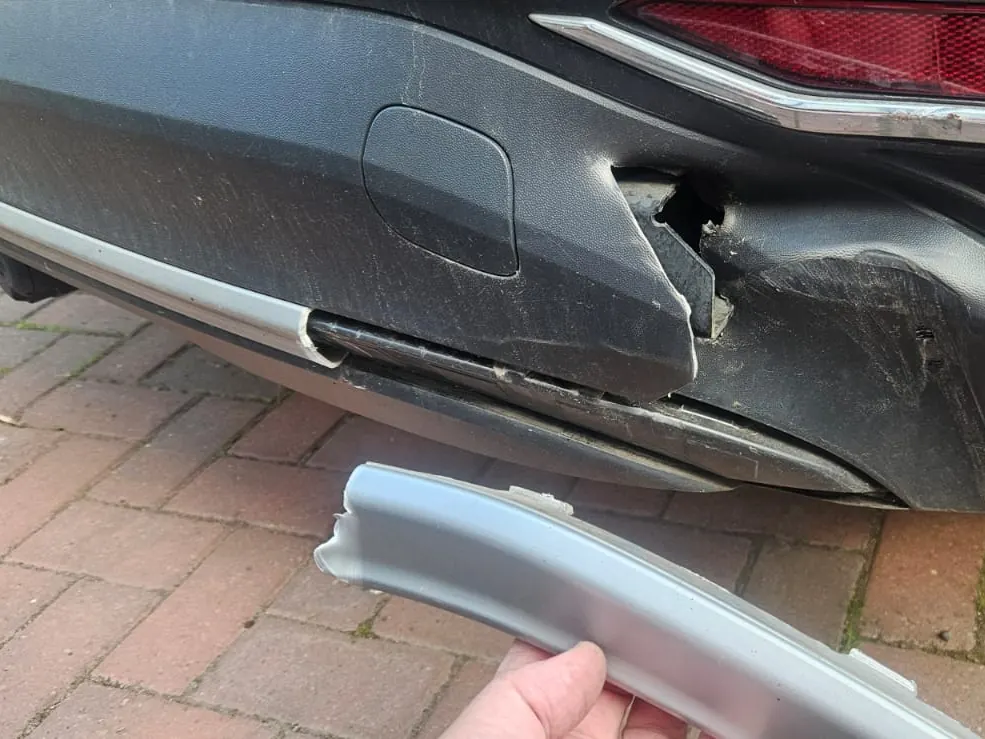
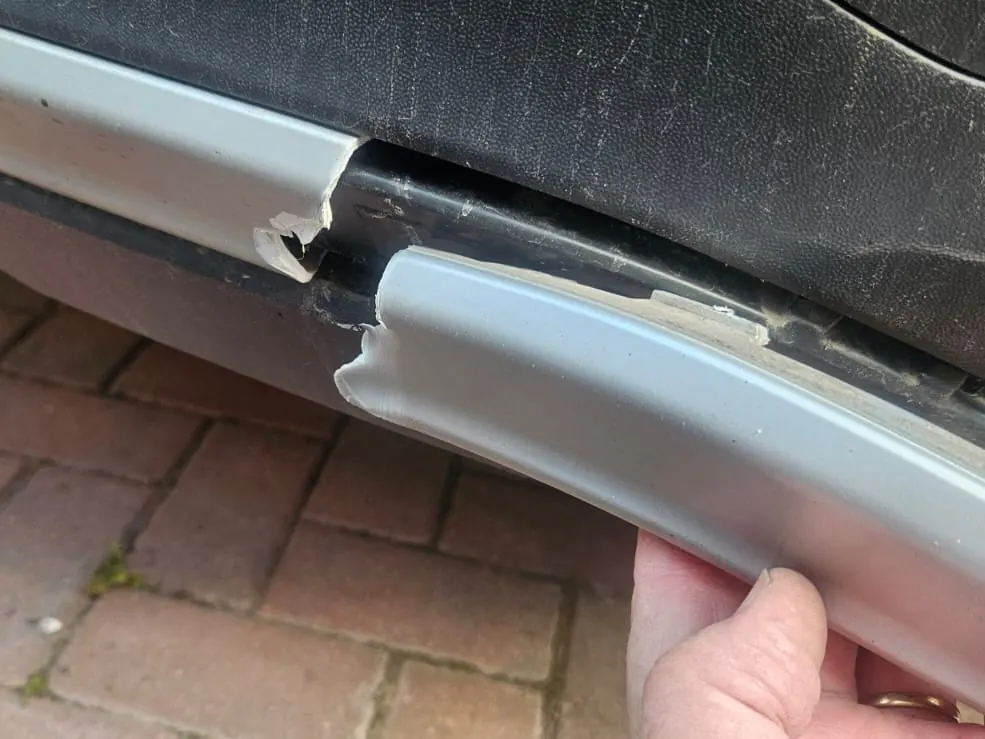
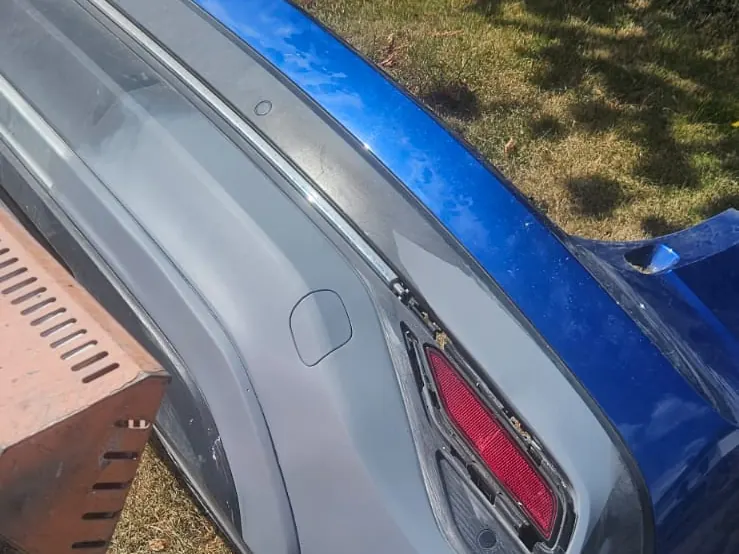
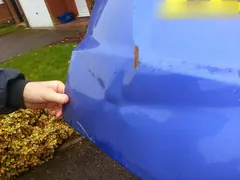
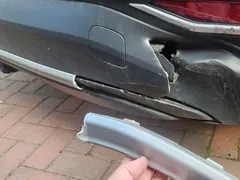
  1. A blue car's lower rear bumper torn open by the reflector, a hand holding a broken piece of silver trim
    Photo 1 of 9: Before The lower bumper torn, the trim broken off.
  2. The broken silver trim held up against the bumper where it snapped
    Photo 2 of 9: Before The broken trim, held where it snapped.
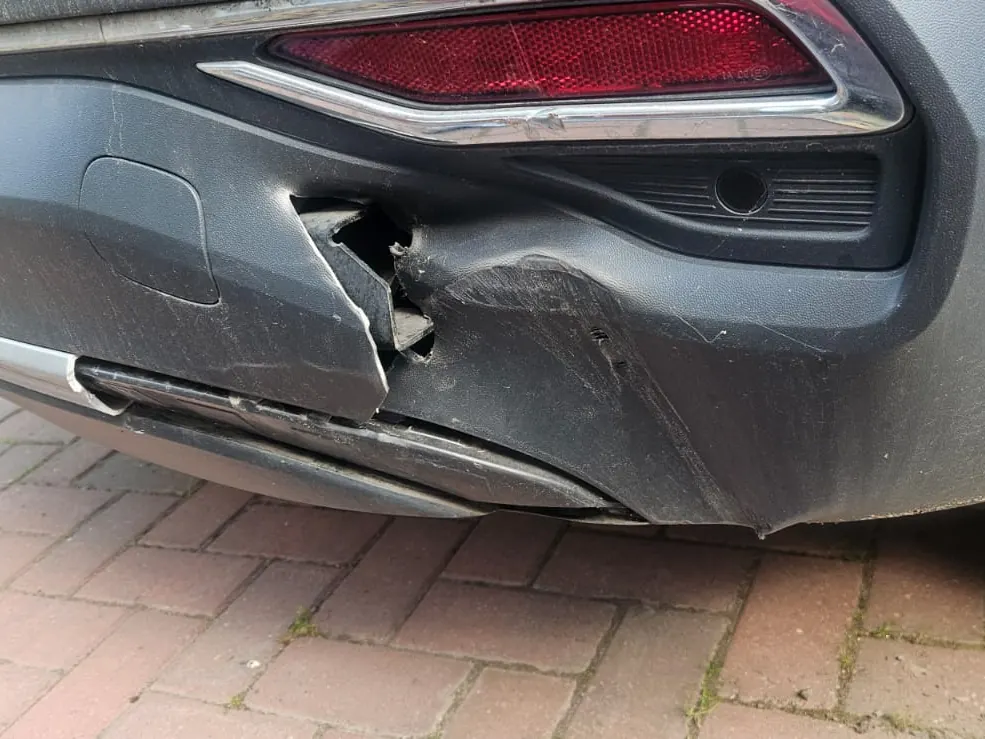
  3. The torn grey plastic of the lower bumper below the rear reflector
    Photo 3 of 9: Before The tear, close up.
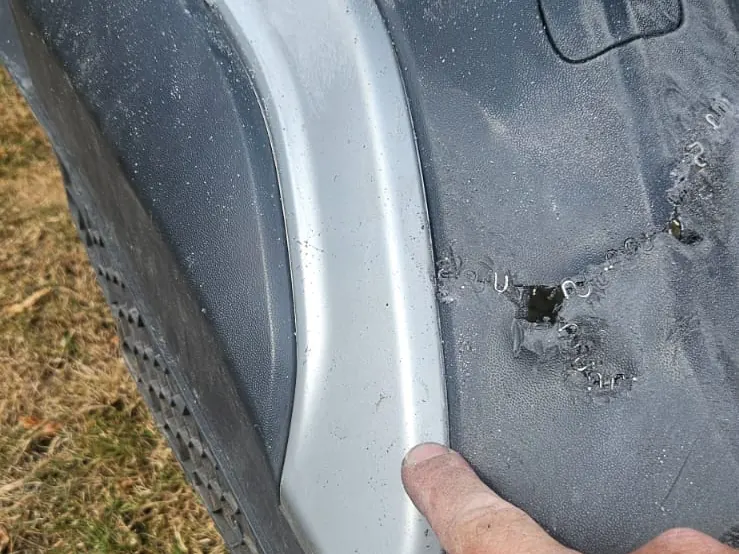
  4. The bumper off the car on the grass, a finger pointing to the line of the tear in the grey plastic
    Photo 4 of 9: Off the car The bumper off the car, the tear being repaired.
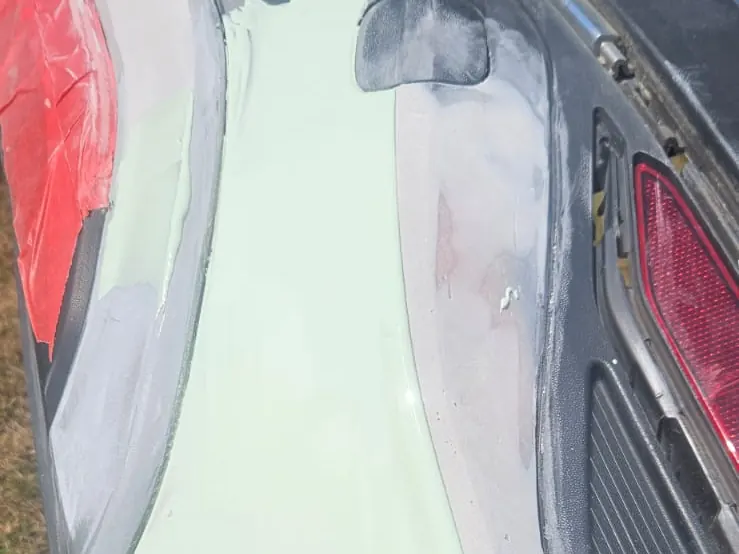
  5. The bumper, off the car, with pale green filler spread over the repaired area
    Photo 5 of 9: Filler Filler over the repair.
  6. The bumper in grey primer, off the car on the grass, a heater lamp beside it
    Photo 6 of 9: Primer In primer, still off the car.
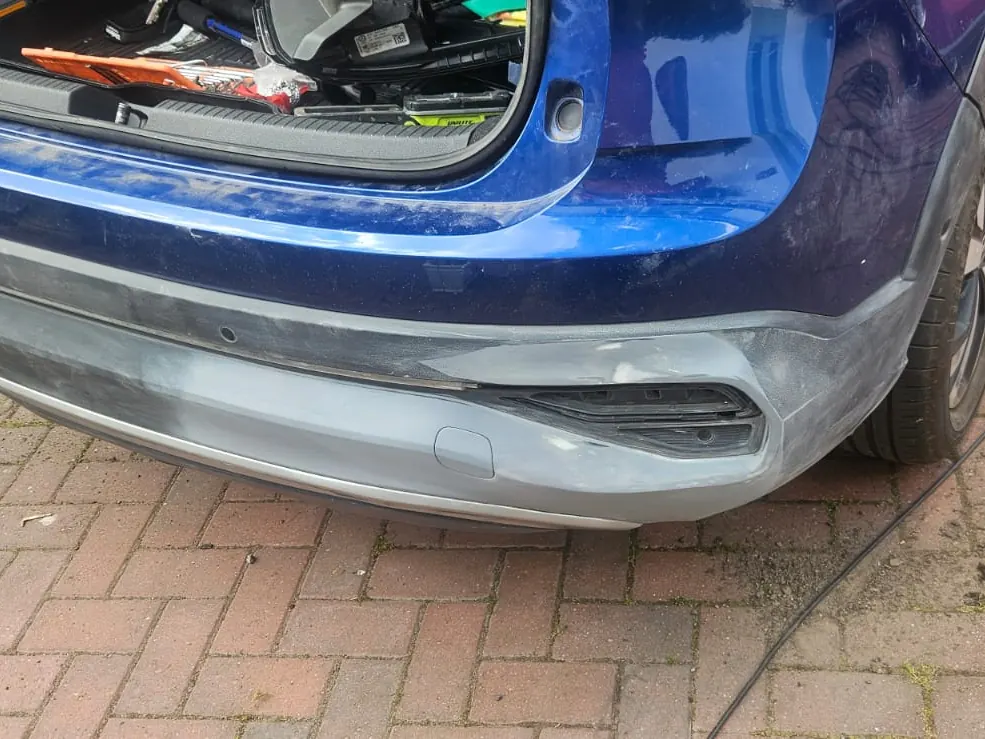
  7. The bumper back on the blue car, its lower part grey, the boot open
    Photo 7 of 9: Back on Back on the car.
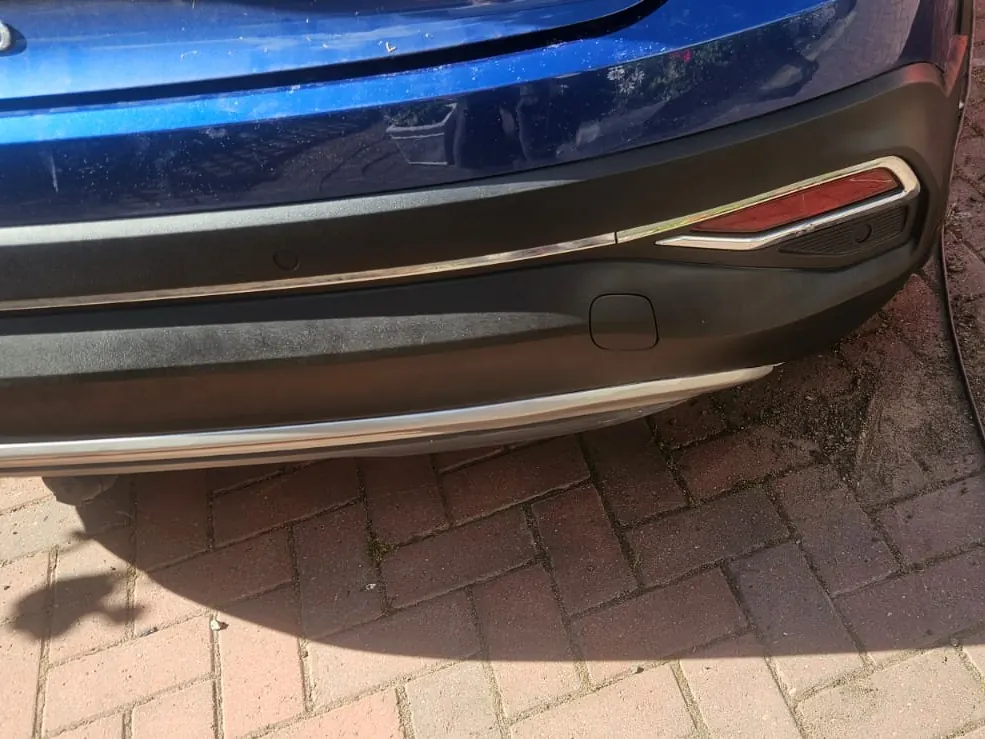
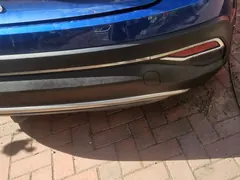
  8. The finished rear bumper, dark grey again, with its silver trim back on
    Photo 8 of 9: Finished Finished, with the trim back on.
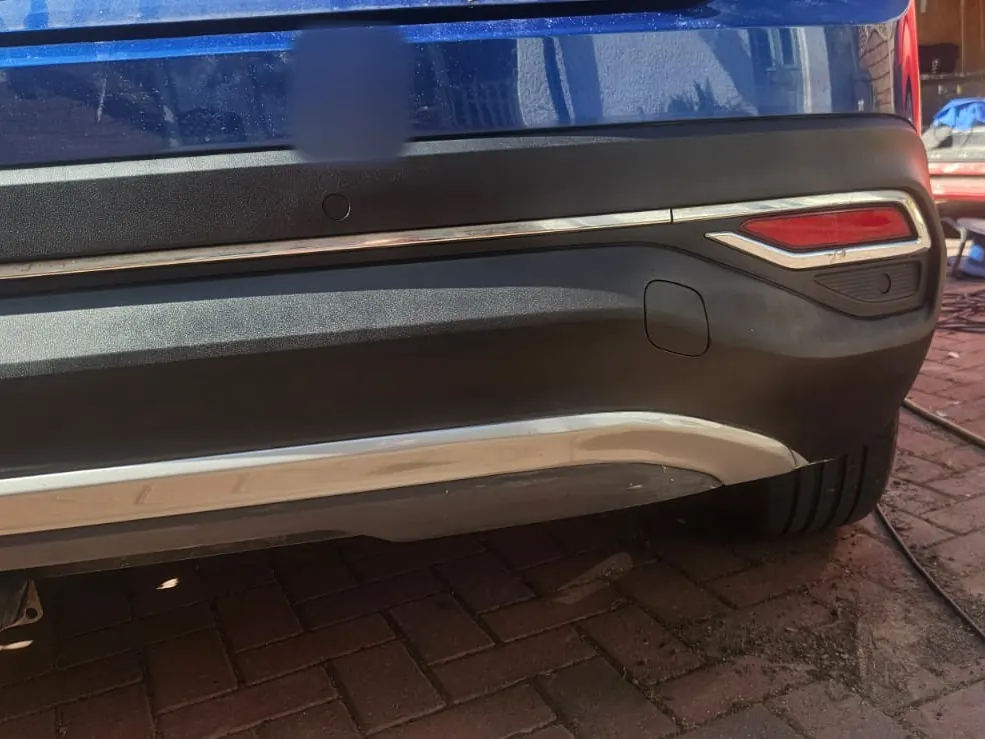
  9. The finished bumper from further along, on a block-paved drive
    Photo 9 of 9: Finished The finished bumper from further along.

Boshed in bumper

A black rear bumper corner, pushed in and cracked, then finished.

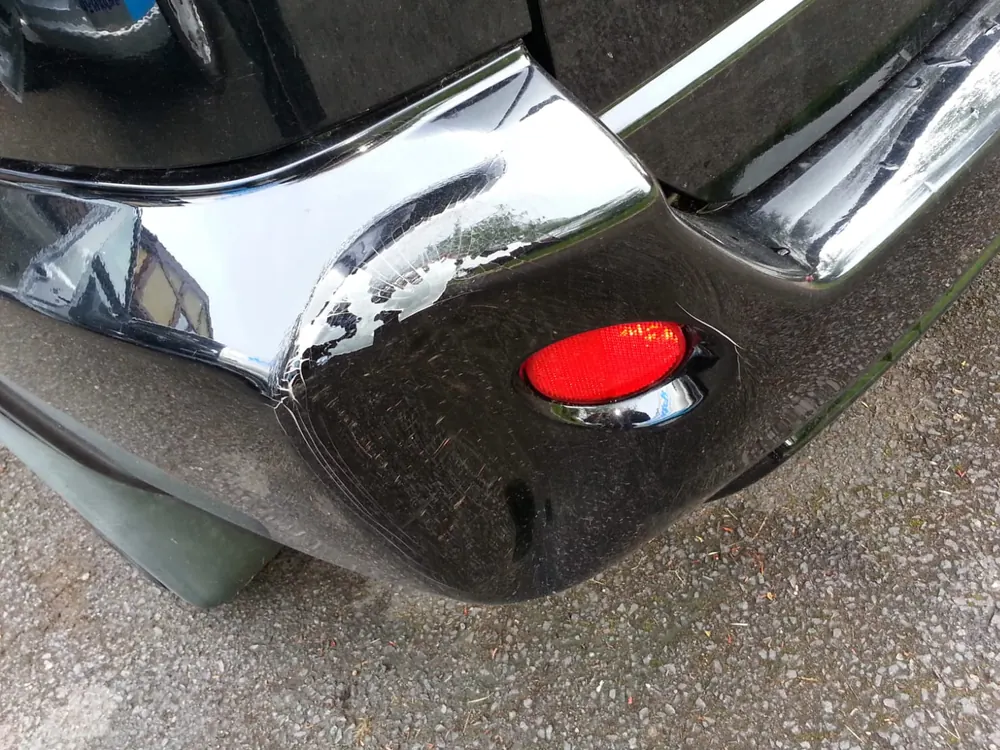
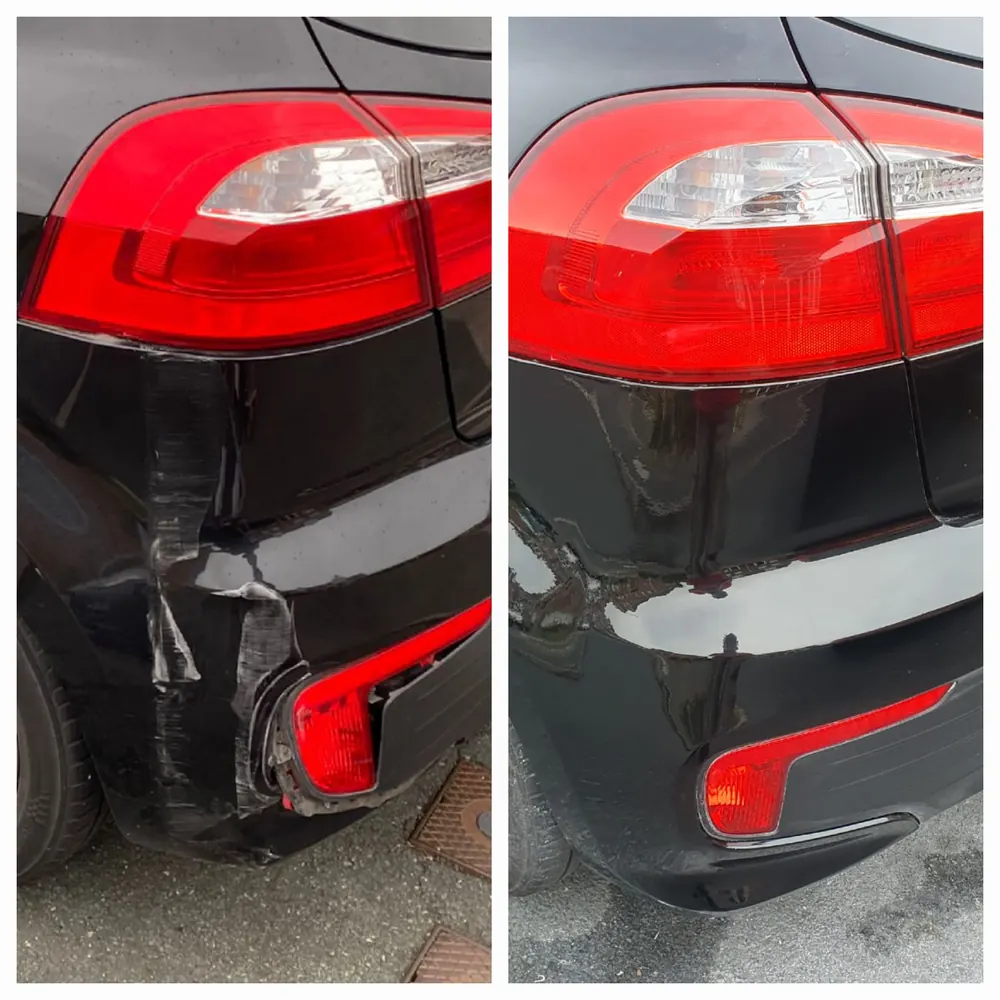
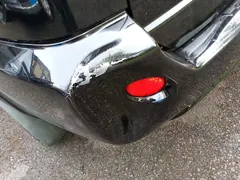
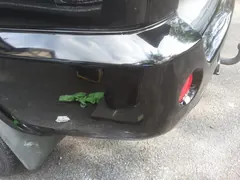
  1. A black car's rear bumper corner pushed in, with cracked and flaking paint beside a round red reflector
    Photo 1 of 4: Before The corner pushed in, the paint cracked.
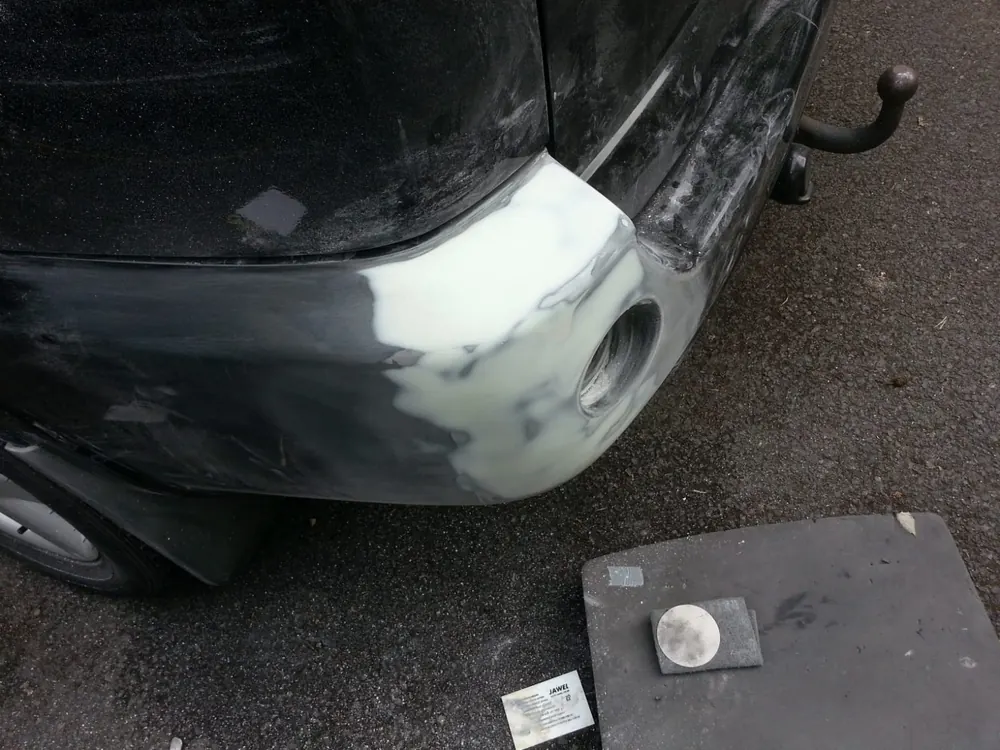
  2. The bumper corner covered in pale filler, the round reflector taken out, a sanding pad on the ground
    Photo 2 of 4: Filler Filler over the corner, the reflector out.
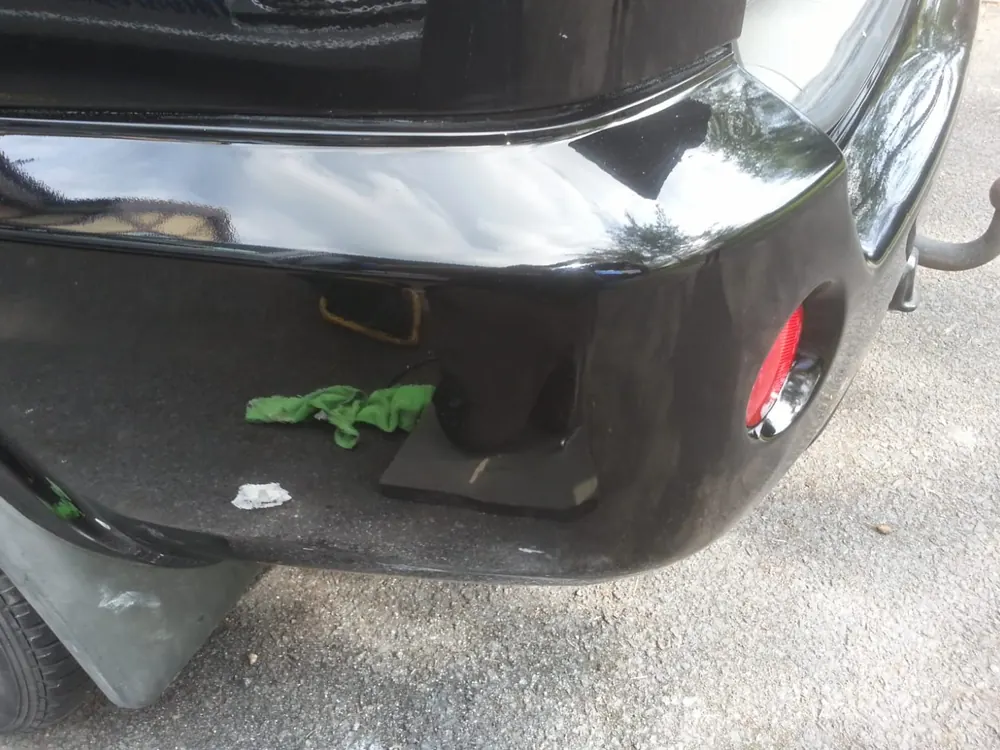
  3. The finished black bumper corner, glossy, with the red reflector back in
    Photo 3 of 4: Finished The corner finished and glossy.
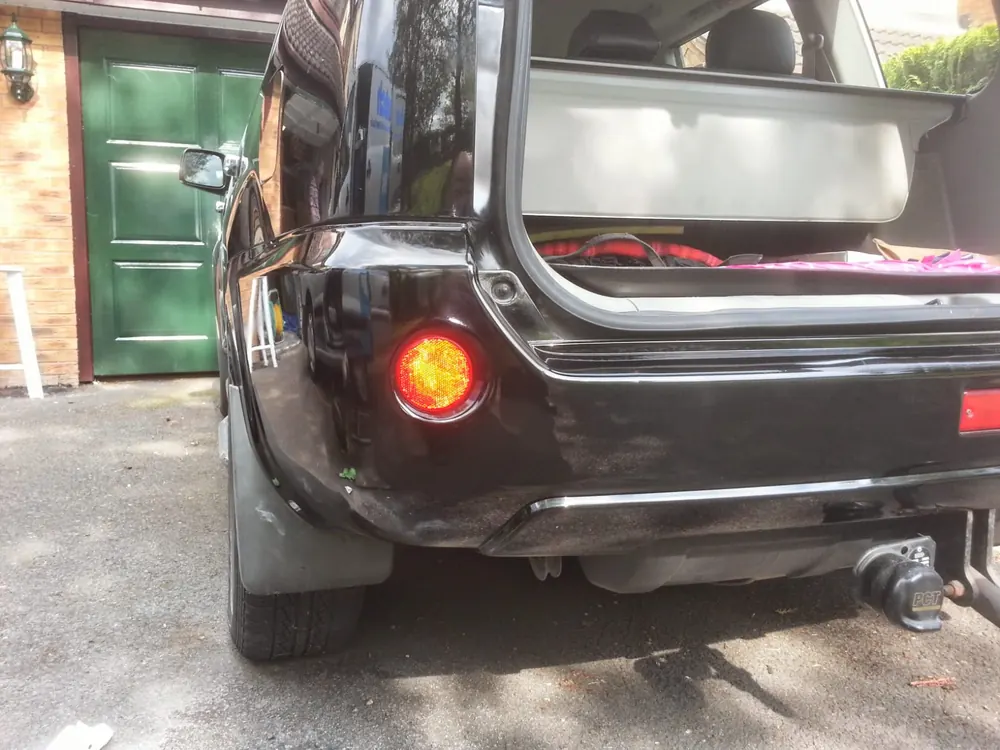
  4. The back of the black car with its boot open and the repaired bumper corner finished, beside a green garage door
    Photo 4 of 4: Finished Finished, from further back.

Puma fix

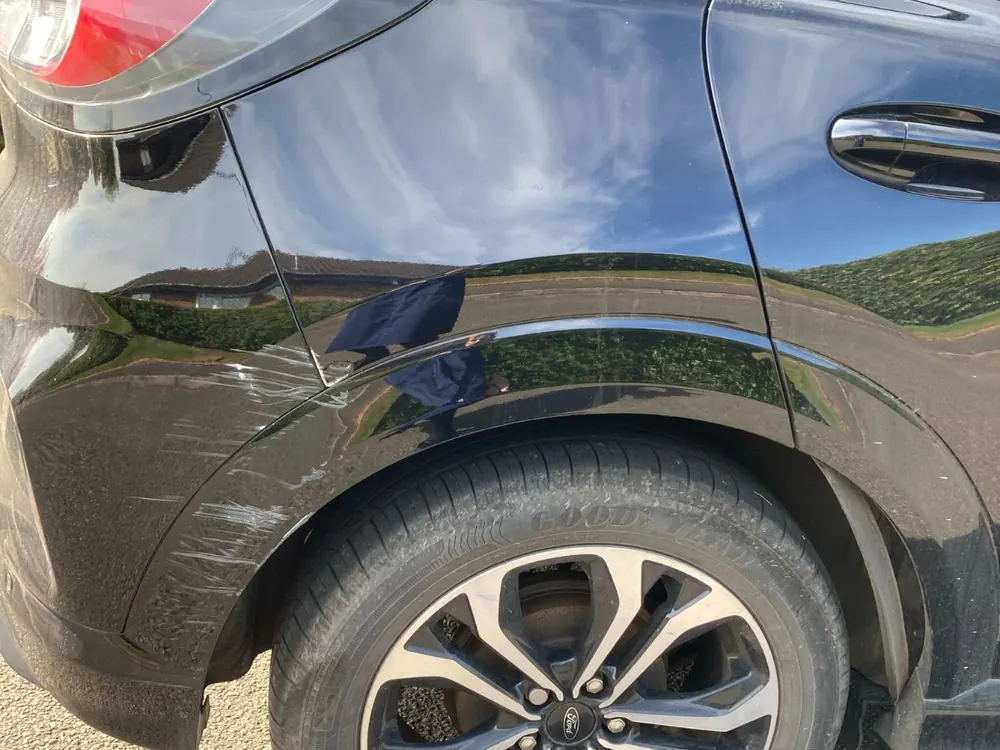
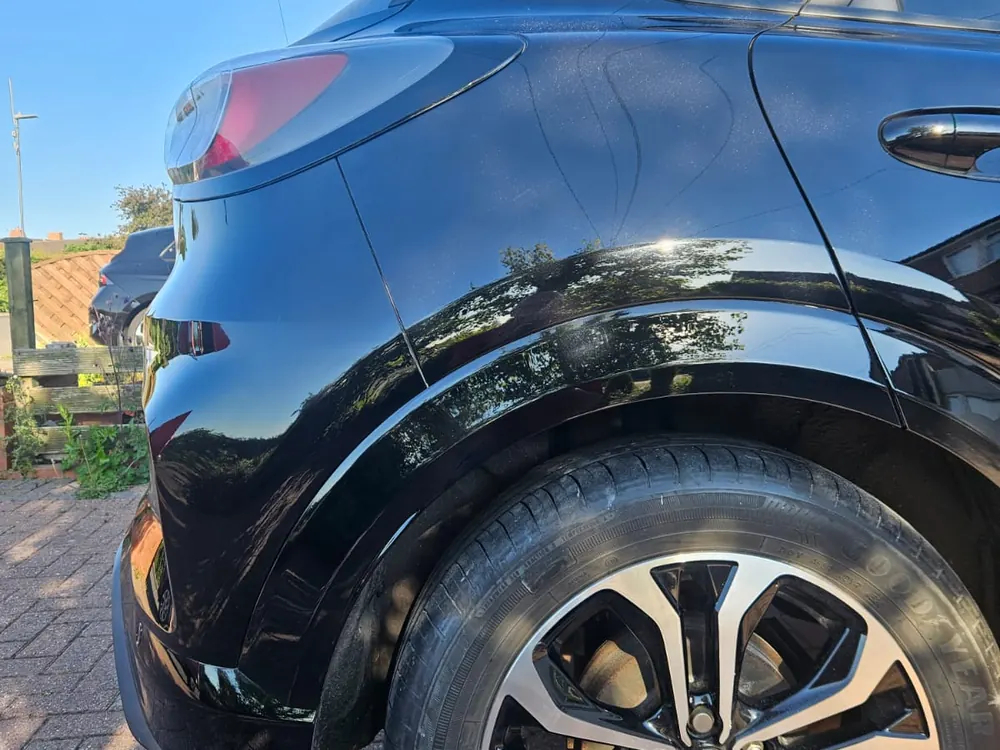
Scratches along a black Puma's rear wheel arch, before and after.

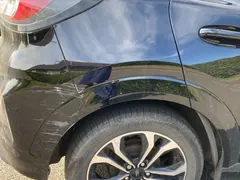
  1. A black Ford Puma's rear wing and wheel arch, scratched along the lower edge
    Photo 1 of 2: Before Scratches along the rear wheel arch.
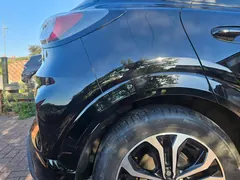
  2. The same black rear wing and wheel arch, repaired and glossy, on a block-paved drive
    Photo 2 of 2: After The same arch, repaired.

Painted outside

Kia Yellow Peril

“I'll be happy to tell you how to do this repair, but it will take me around 22 years to explain.”

James, Up To Scratch

Painted outside, on a rainy day, in the winter, at near zero temperatures.

From the scrapes on the wing to the finished paint, in ten photos.

Call James for a quote on 07855 866684.

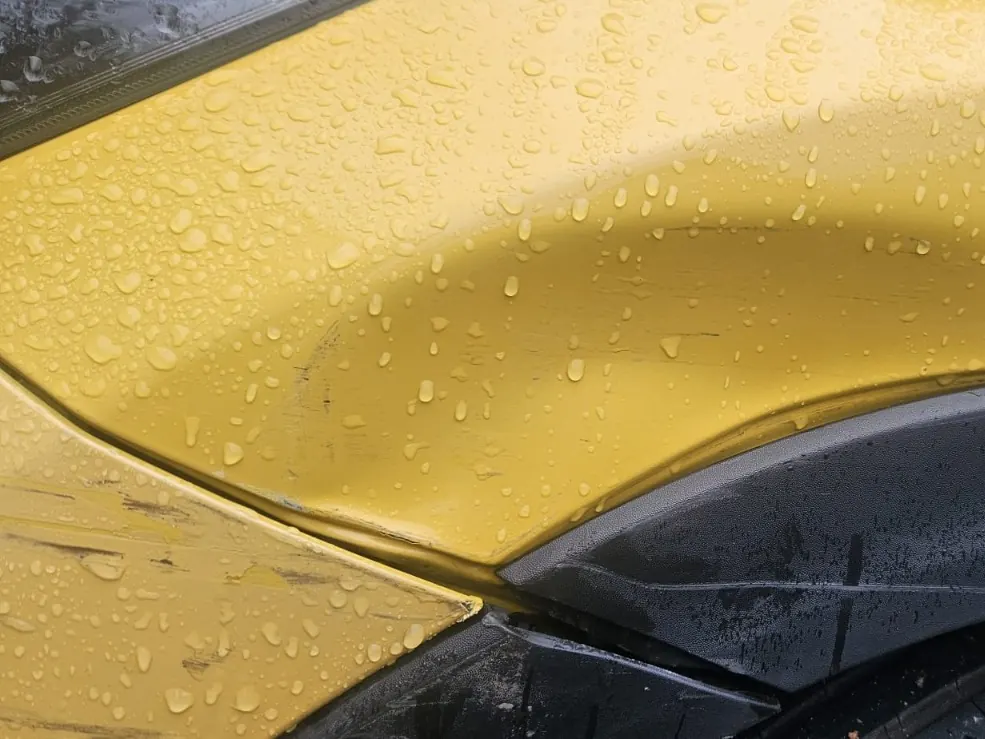
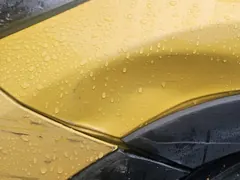
  1. A yellow Kia's front wing and bumper corner above the wheel arch, scraped and covered in raindrops
    Photo 1 of 10: Before Scrapes on the front wing and the bumper corner, in the rain.
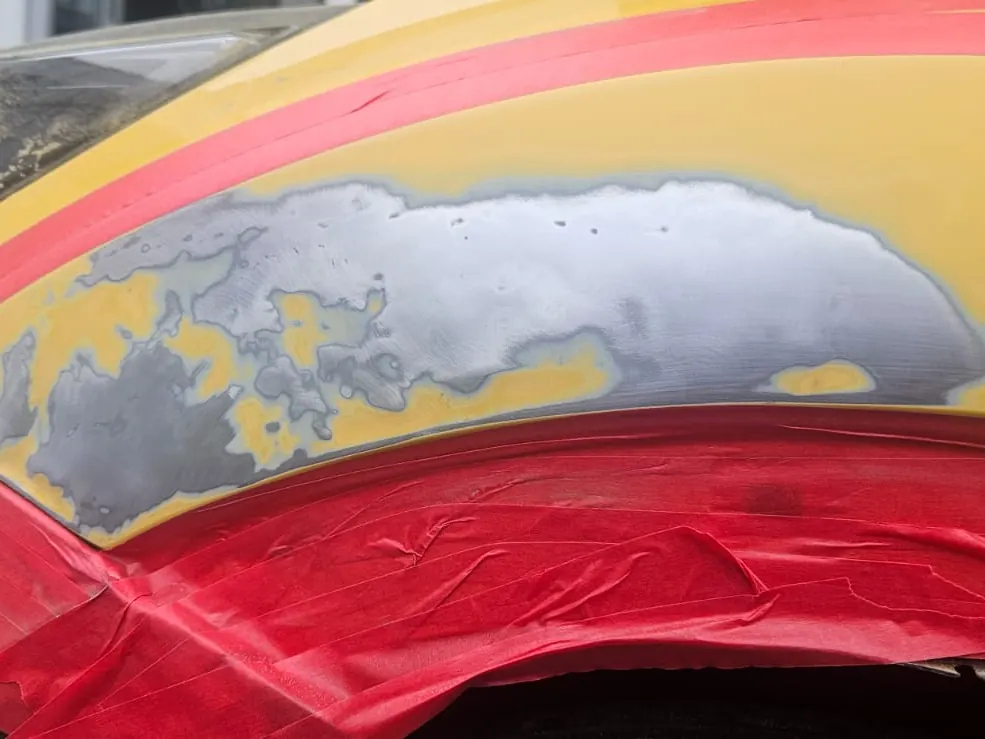
  2. The Kia's front wing sanded back in a long patch above the wheel arch, red masking tape round it
    Photo 2 of 10: Sanded back The wing sanded back, masked off with tape.
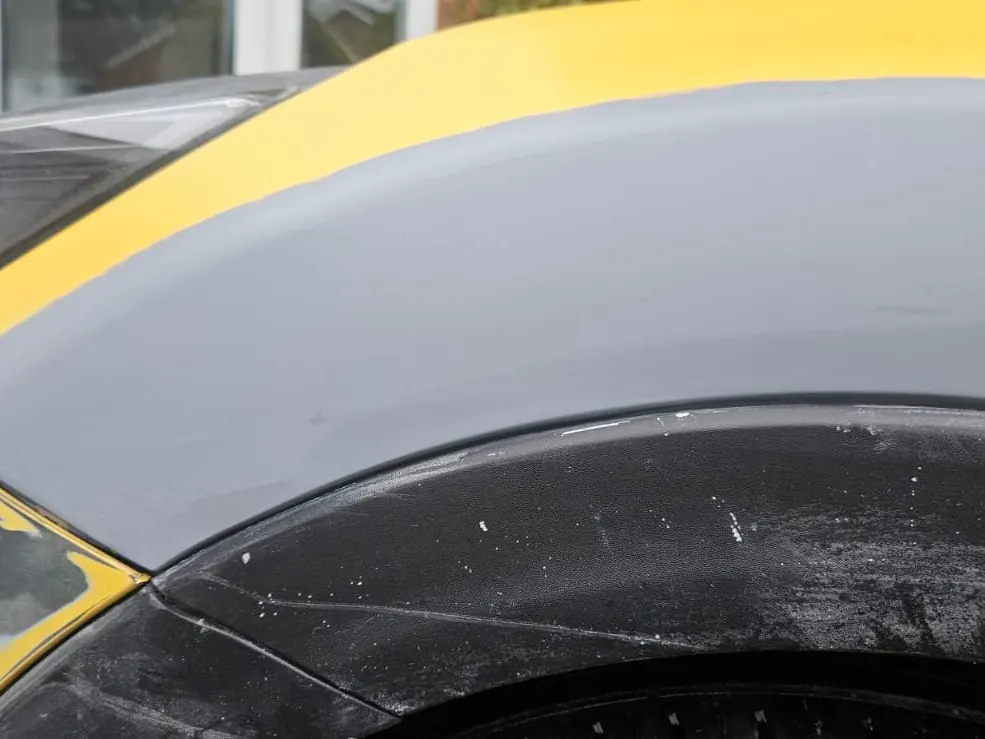
  3. The front wing in grey primer above the black wheel arch trim, the bumper corner partly primed
    Photo 3 of 10: Primer Grey primer over the wing.
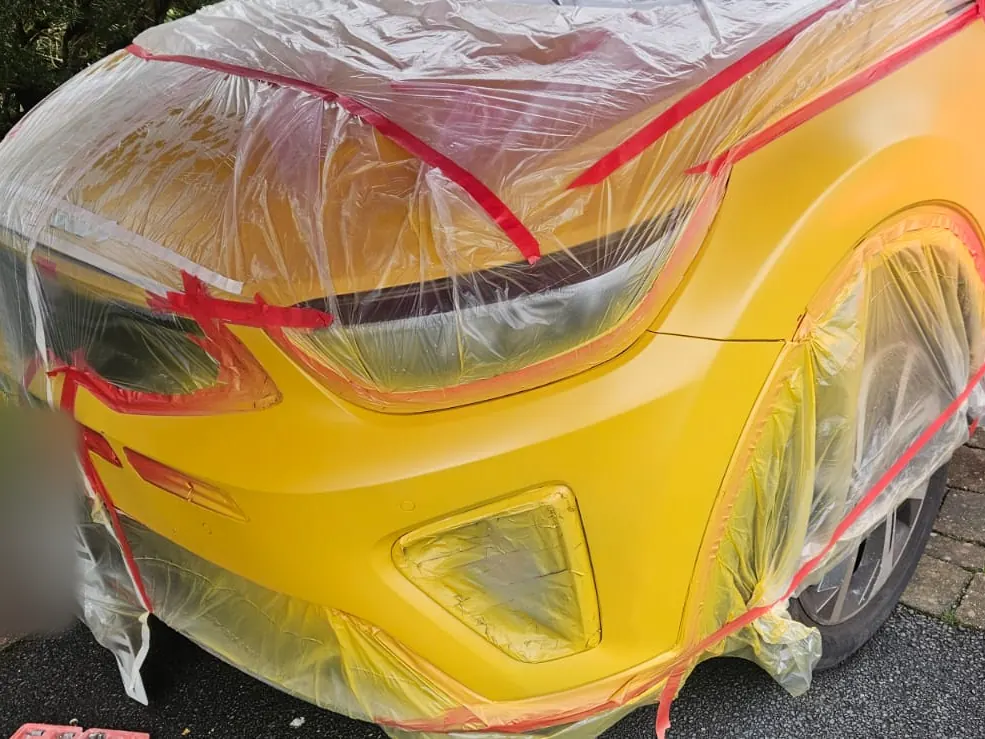
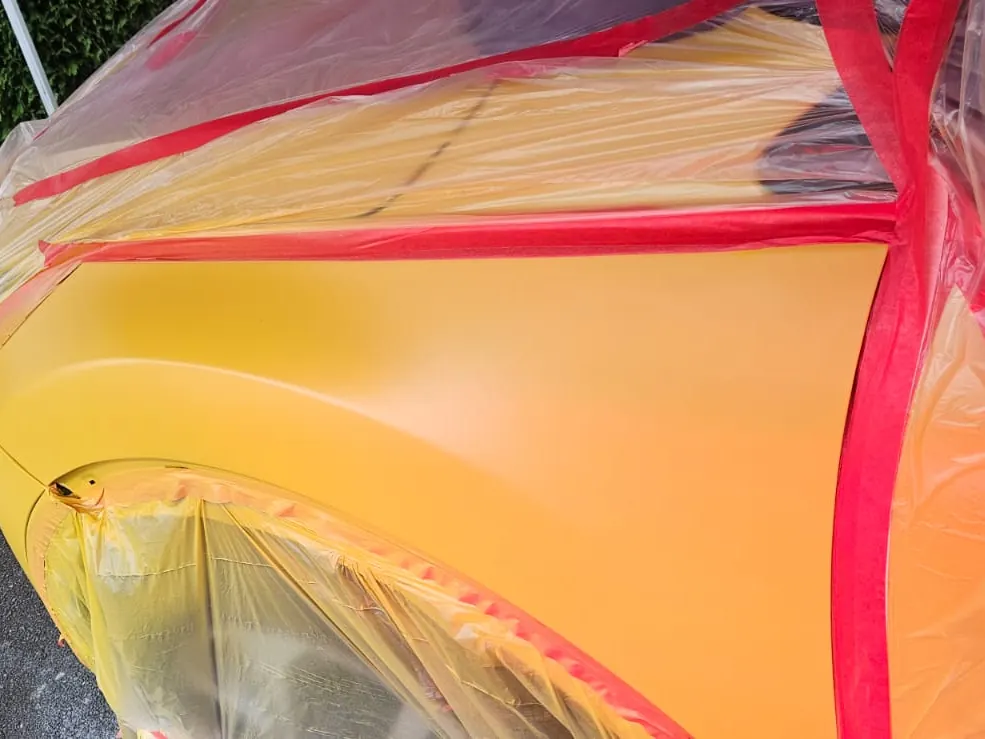
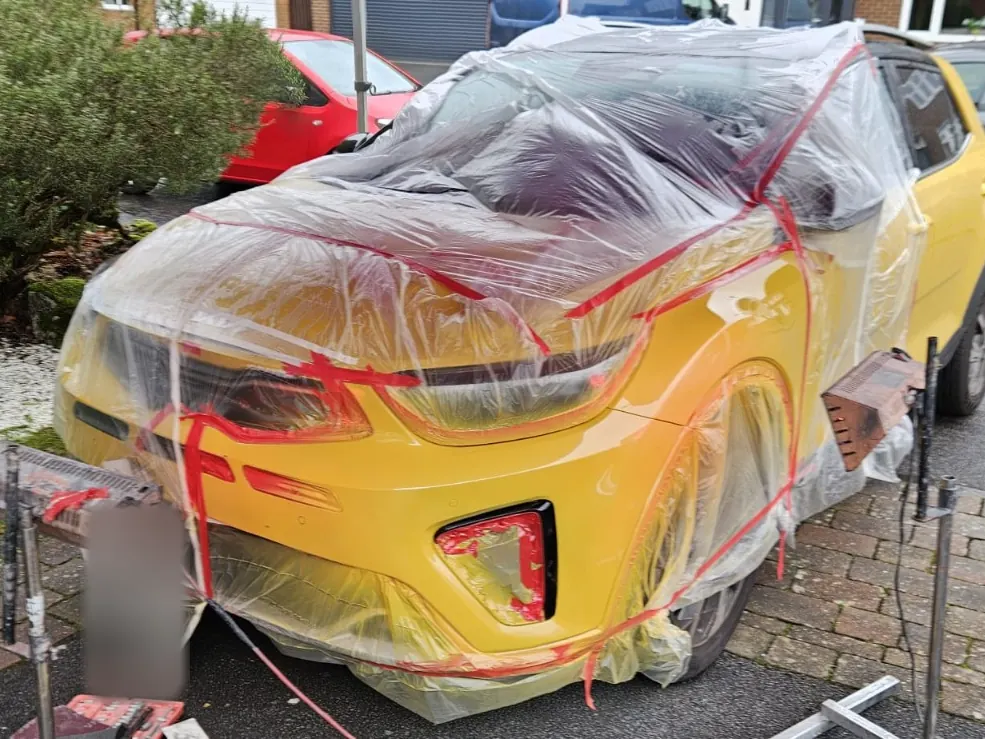
  4. The front of the Kia sheeted in plastic and tape, its bumper and wing sprayed yellow and still matt
    Photo 4 of 10: Colour on Sheeted off in plastic, the yellow sprayed on, still matt.
  5. Close up of the wing and bumper sprayed matt yellow, the wheel arch covered in plastic
    Photo 5 of 10: Colour on The matt yellow over the wing and the bumper.
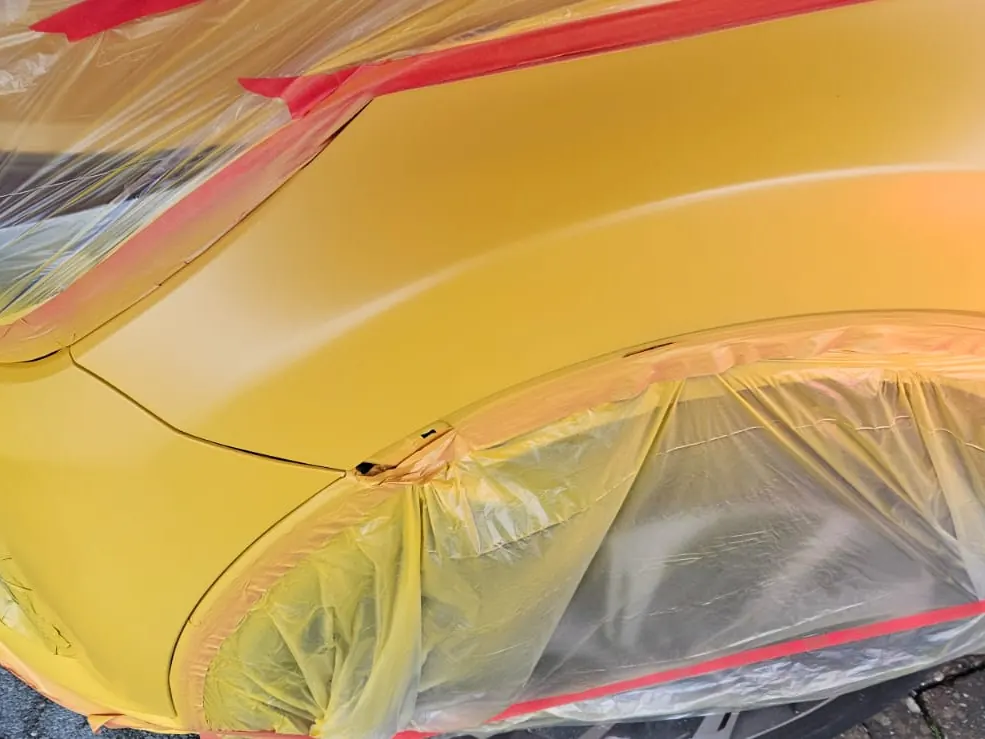
  6. The matt yellow wing seen along the side of the masked car, the arch covered in plastic
    Photo 6 of 10: Colour on Along the wing, the colour still matt.
  7. The front of the Kia sheeted in plastic, its bumper and wing glossy yellow, heater lamps on stands either side
    Photo 7 of 10: Lacquer Lacquered and glossy, with heater lamps on stands.
  8. Close up of the glossy yellow bumper with a heater lamp low in front of it, its cable across the drive
    Photo 8 of 10: Under the lamps The glossy bumper under a heater lamp.
  9. The finished yellow Kia, its front wing and bumper glossy, on a block-paved drive
    Photo 9 of 10: Finished Unmasked: the finished wing and bumper.
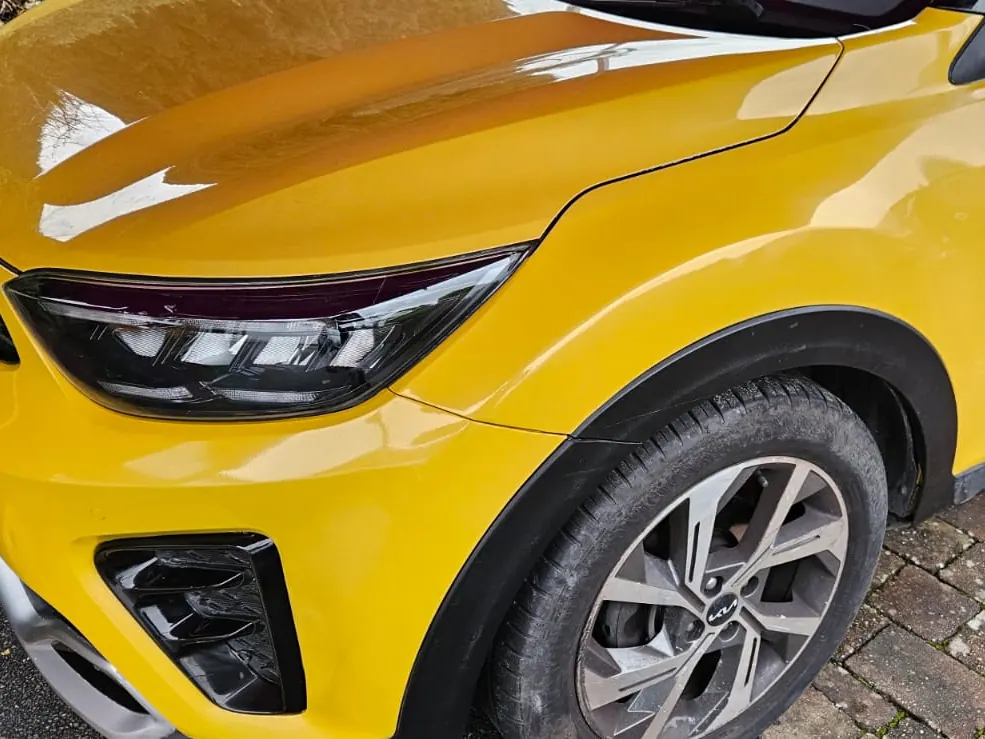
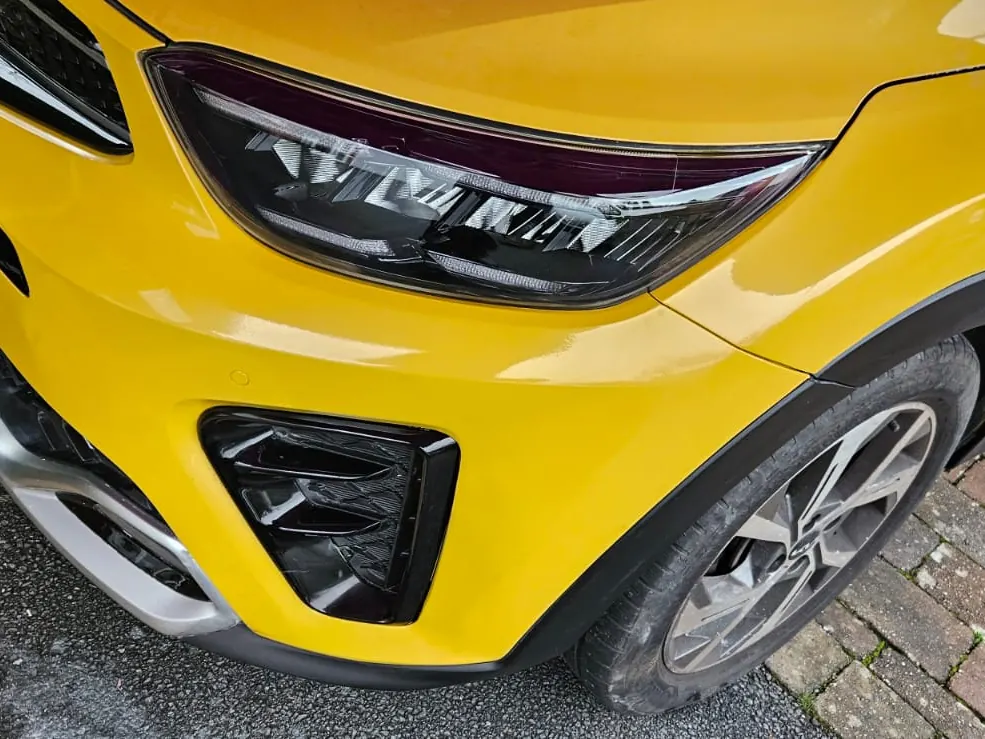
  10. Close up of the finished bumper corner, wheel arch and front wing, glossy yellow beside the headlight
    Photo 10 of 10: Finished The bumper corner and wing, close up.

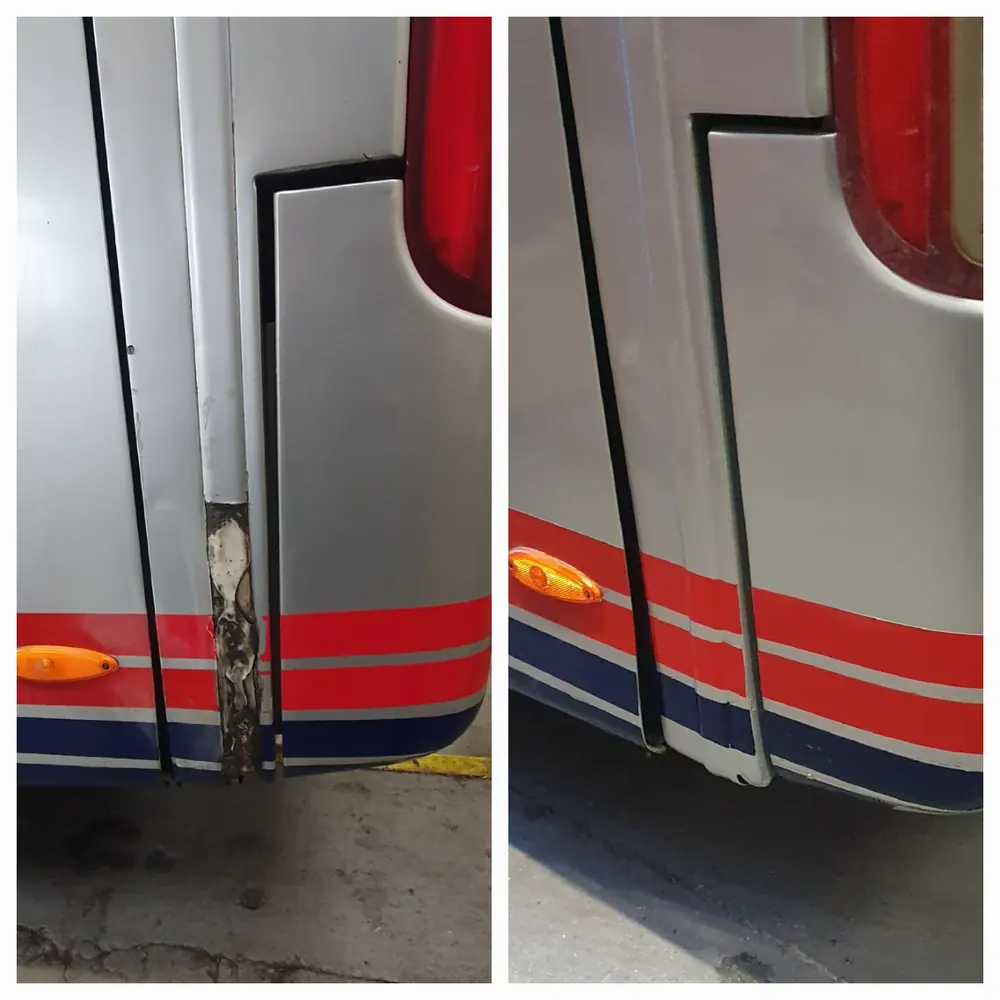
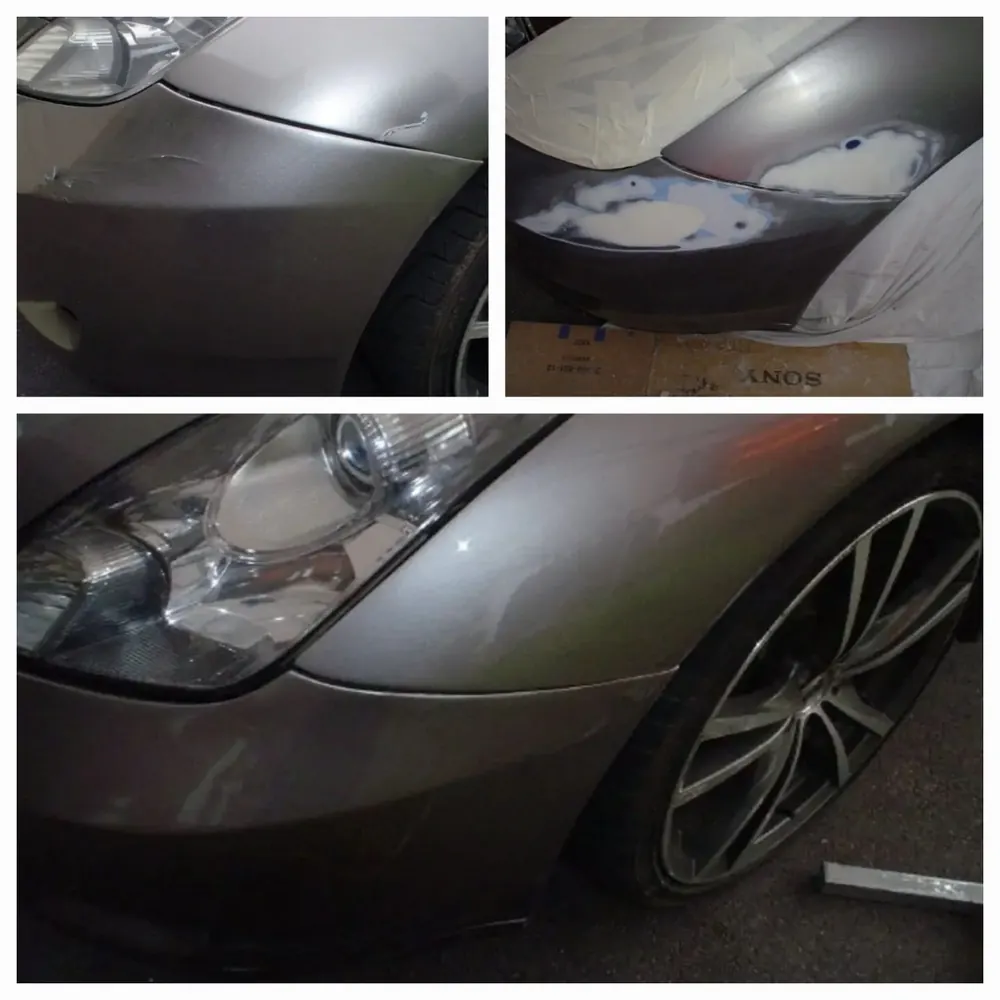
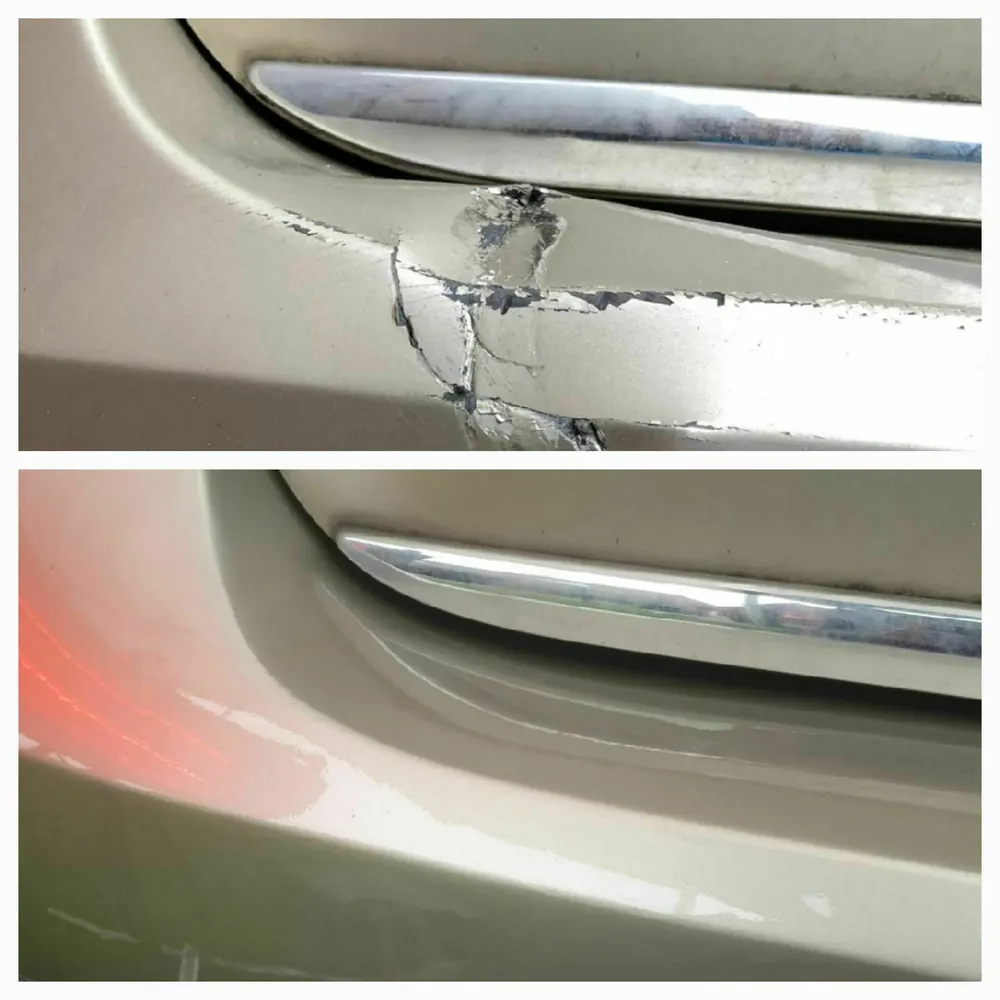
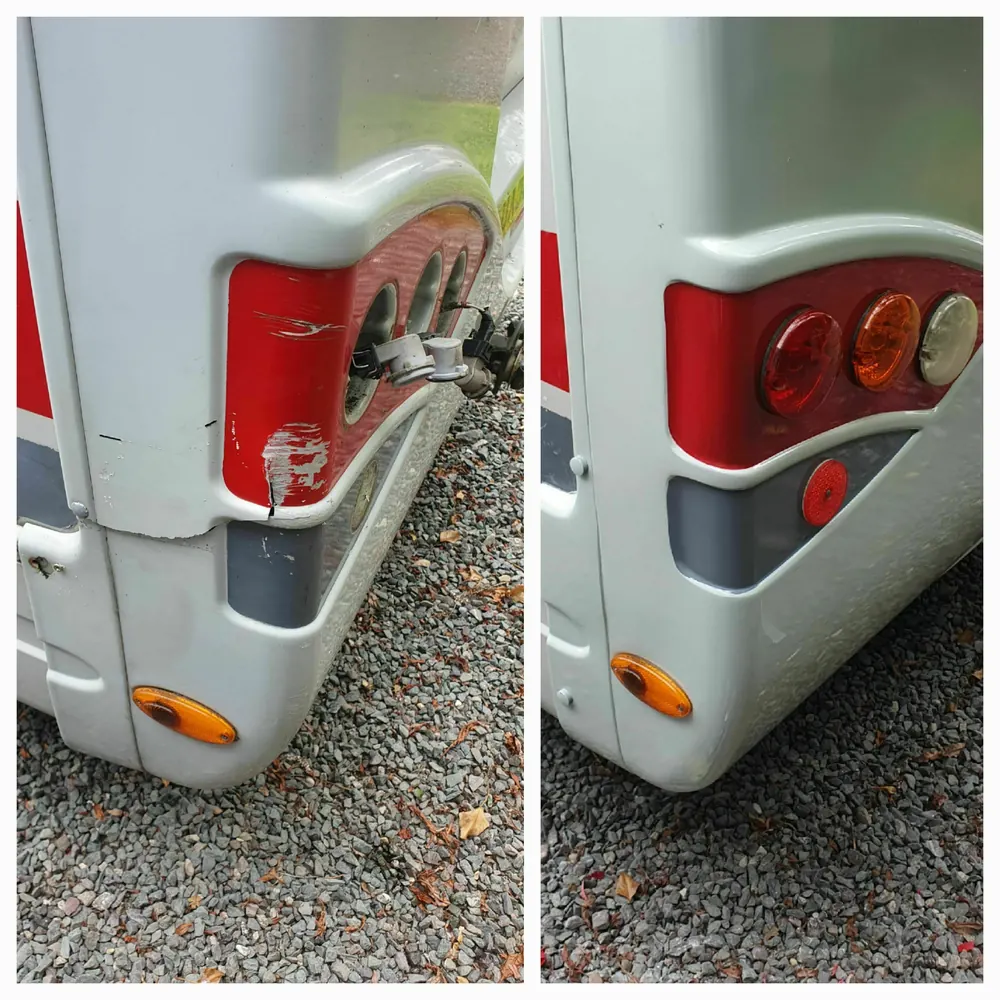
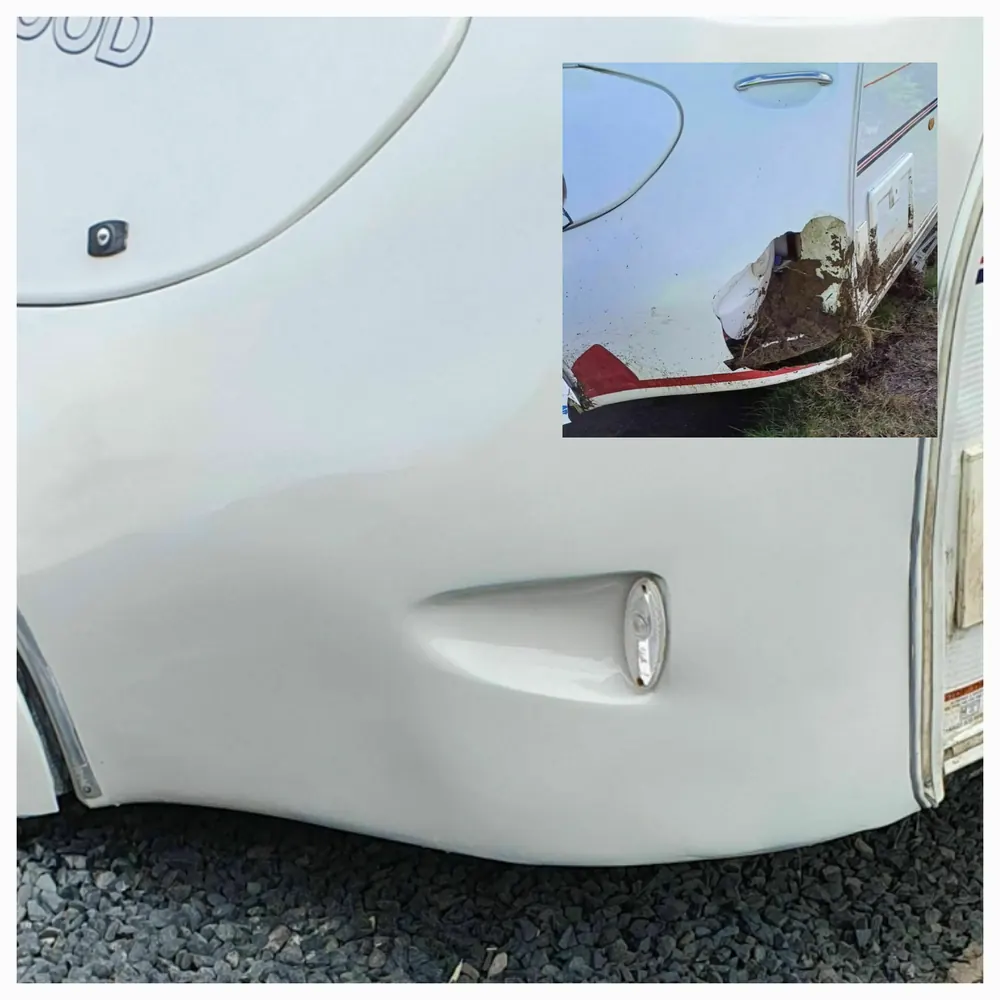
Before and after

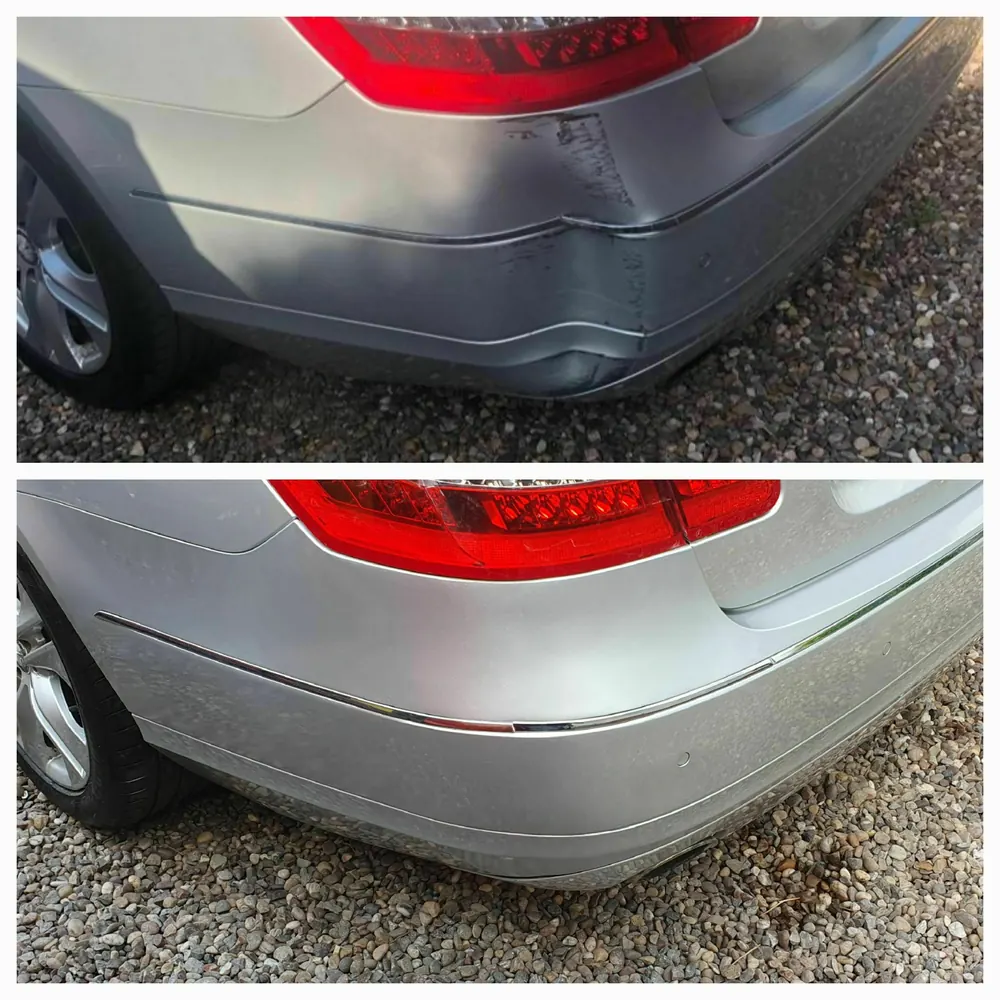
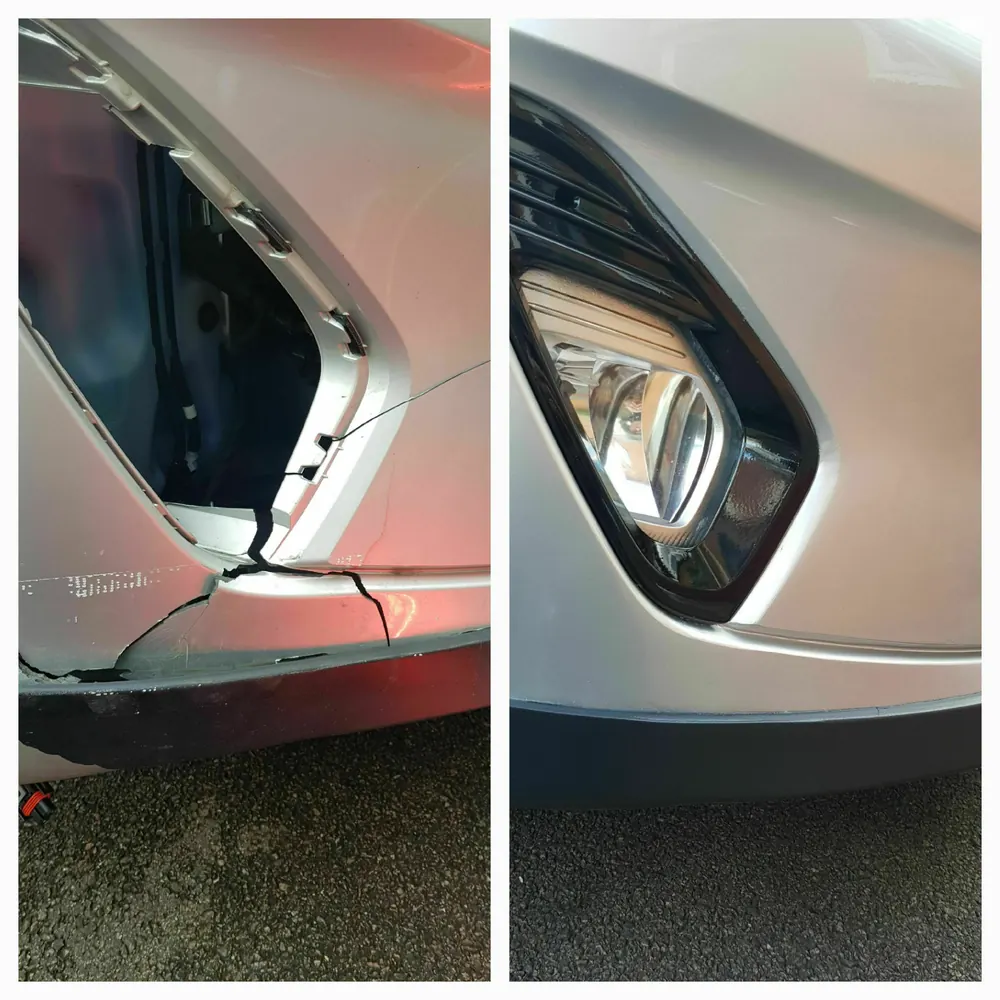
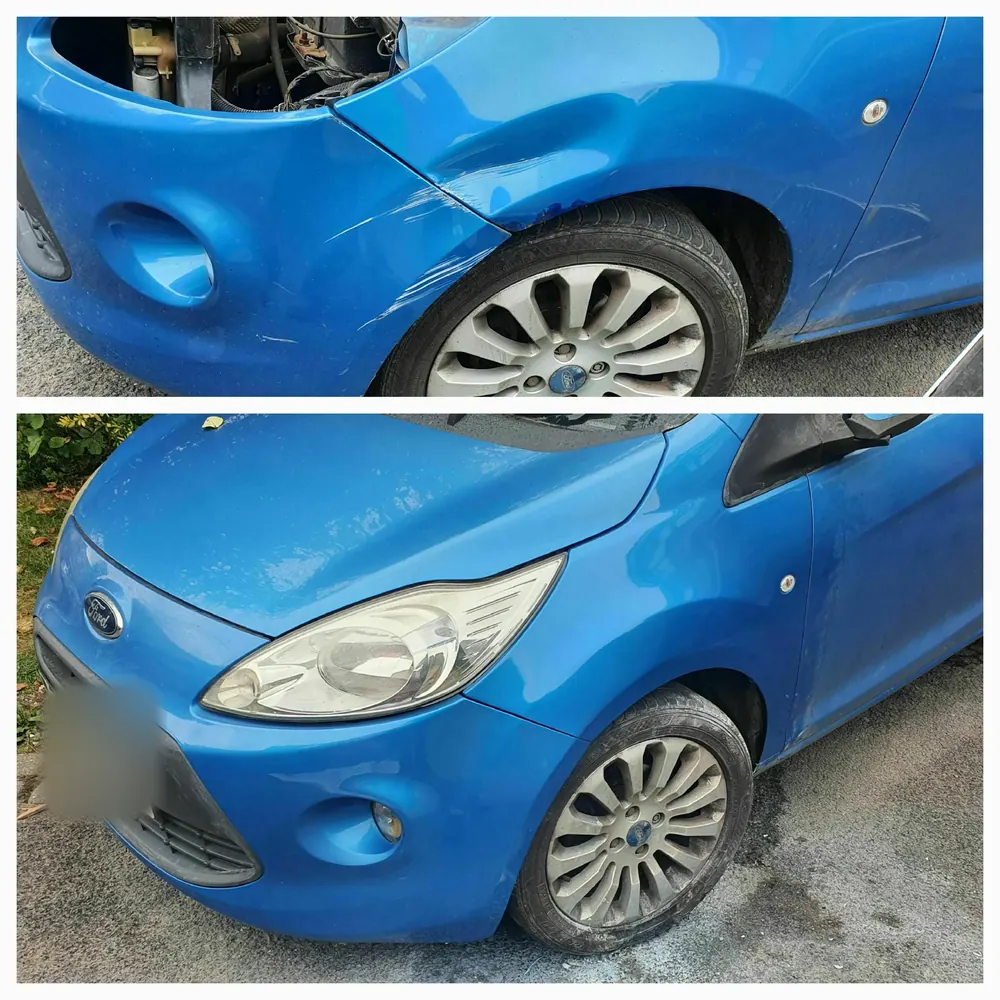
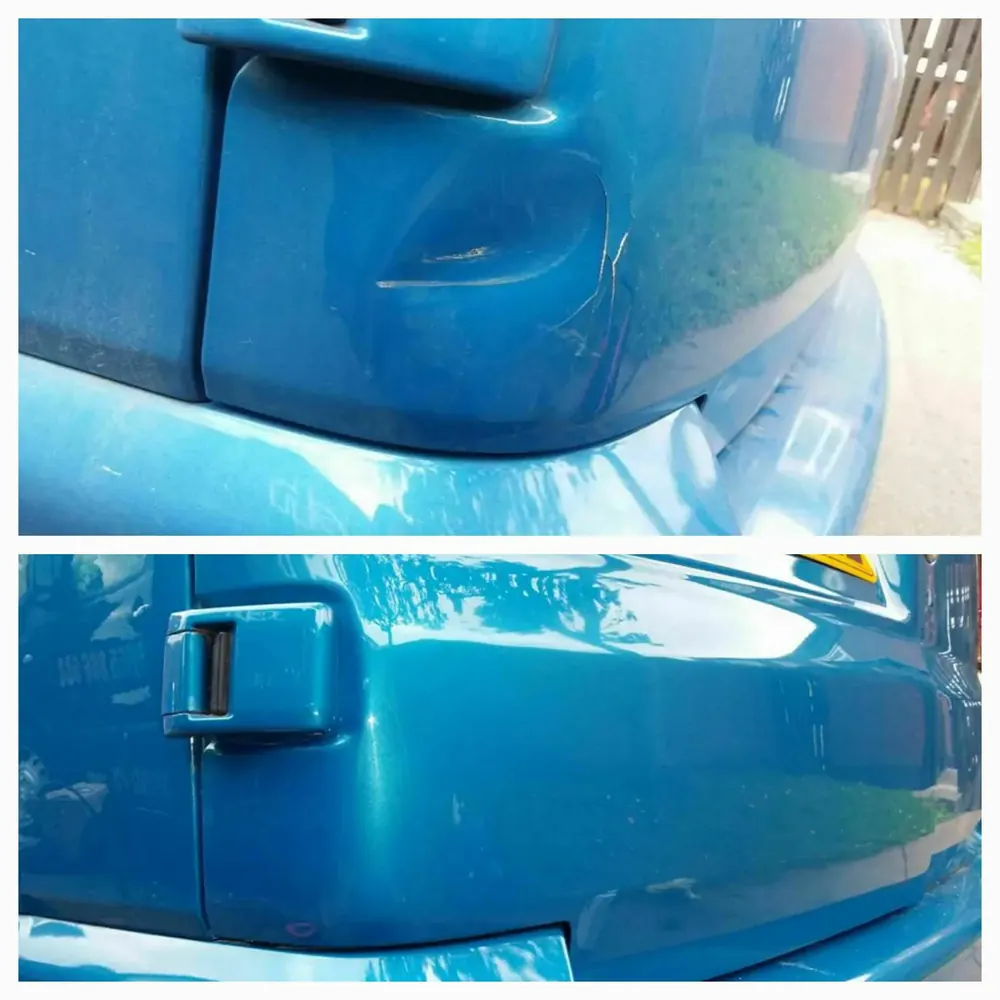
Repairs, before and after

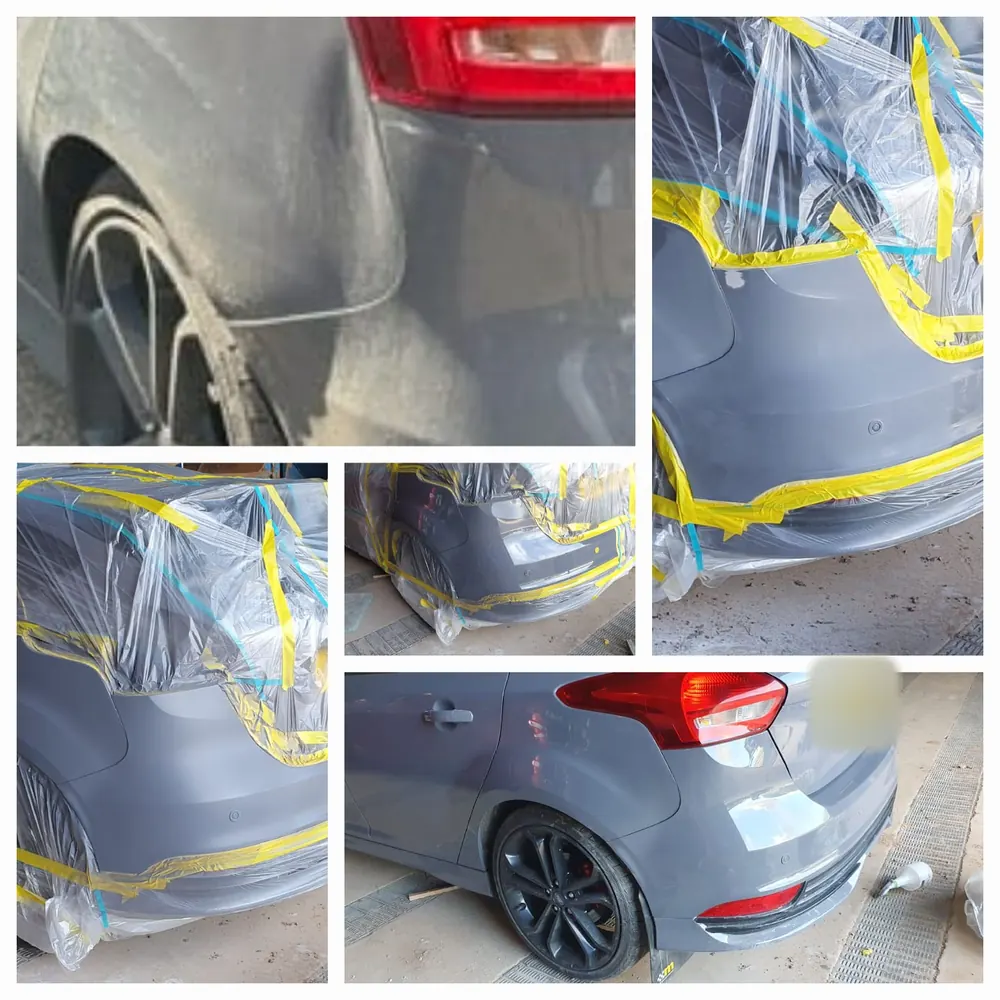
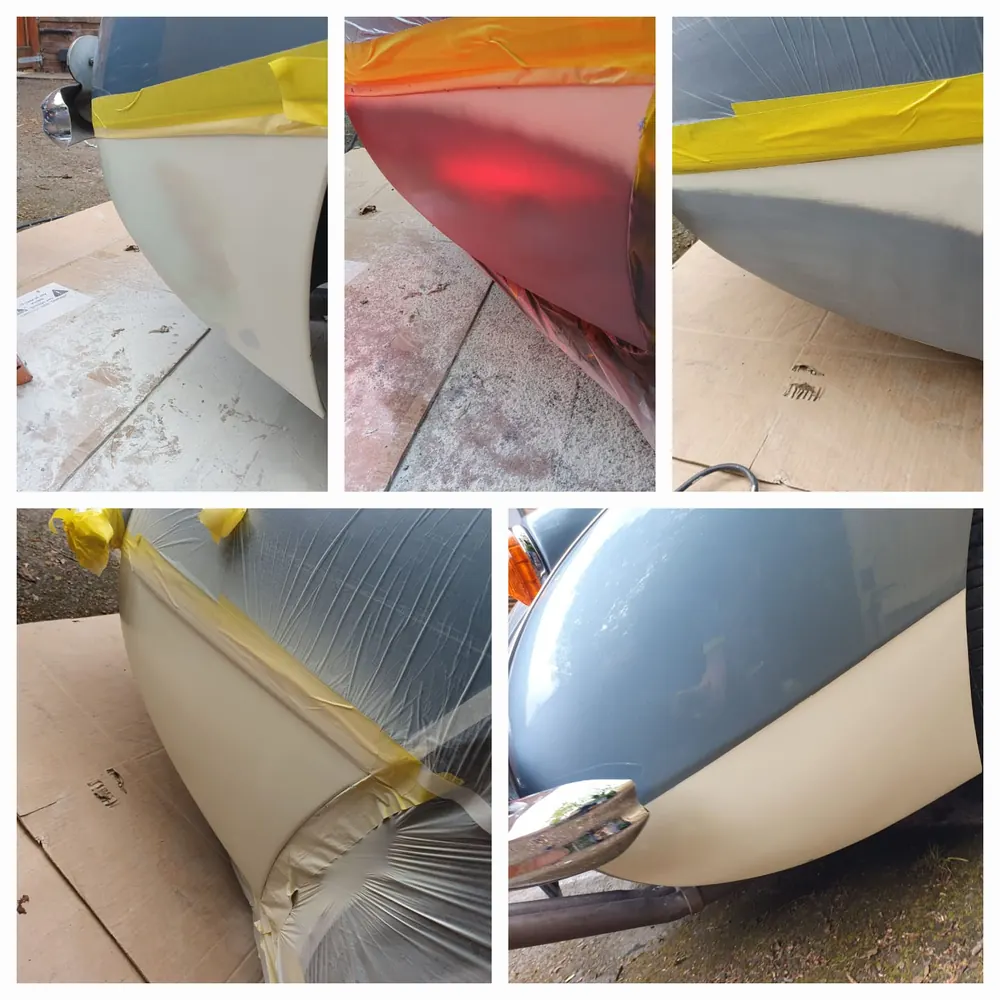
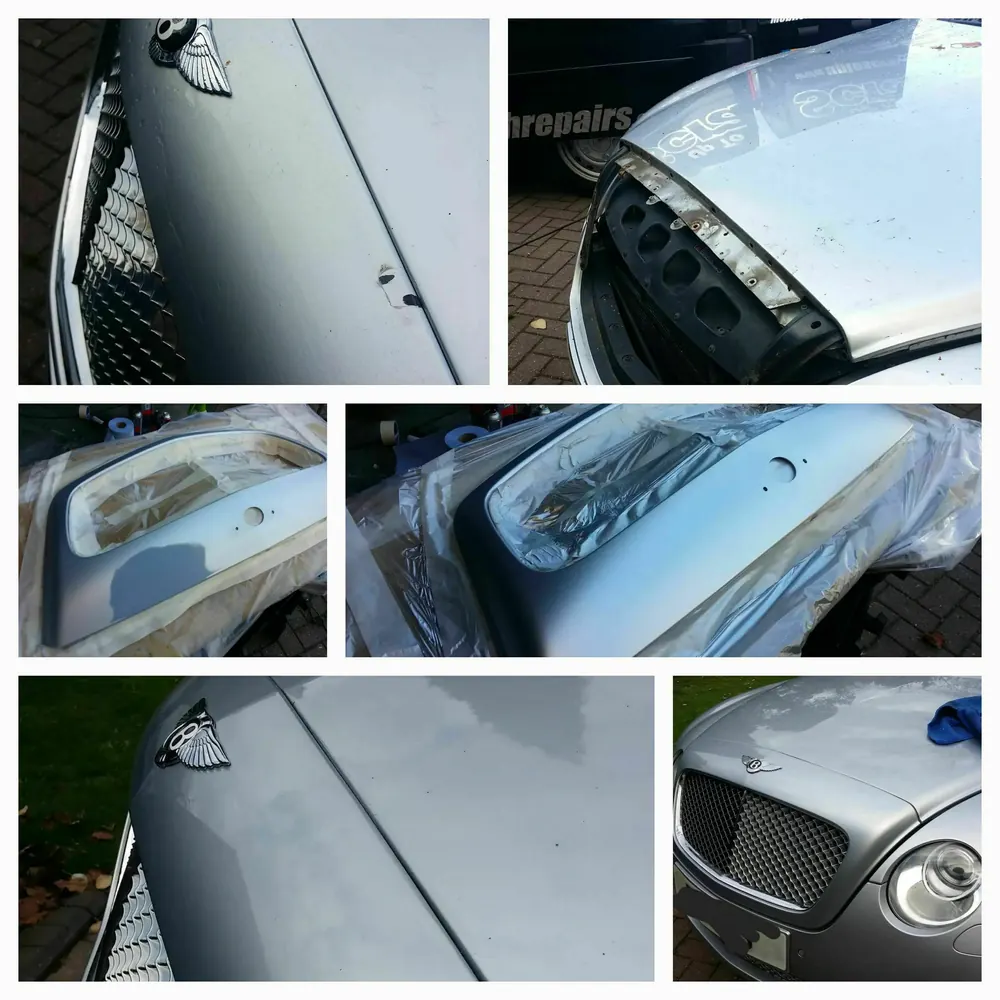
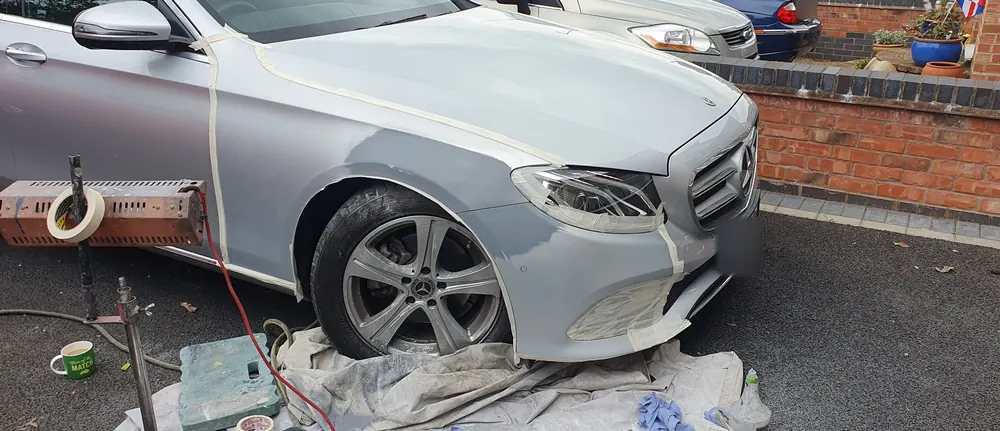
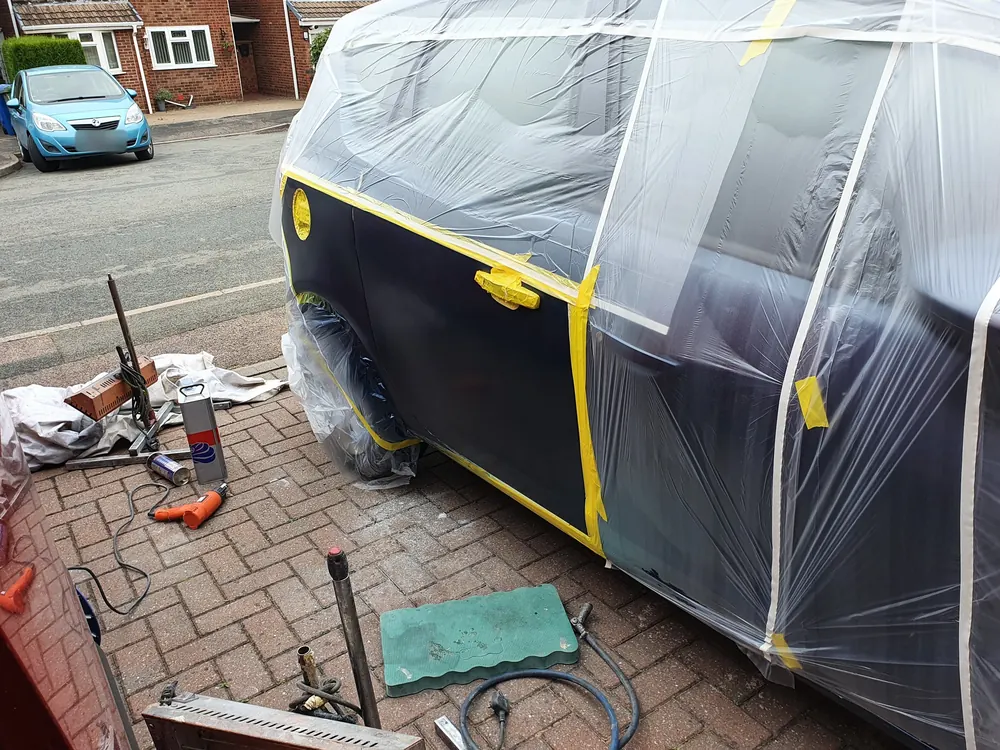
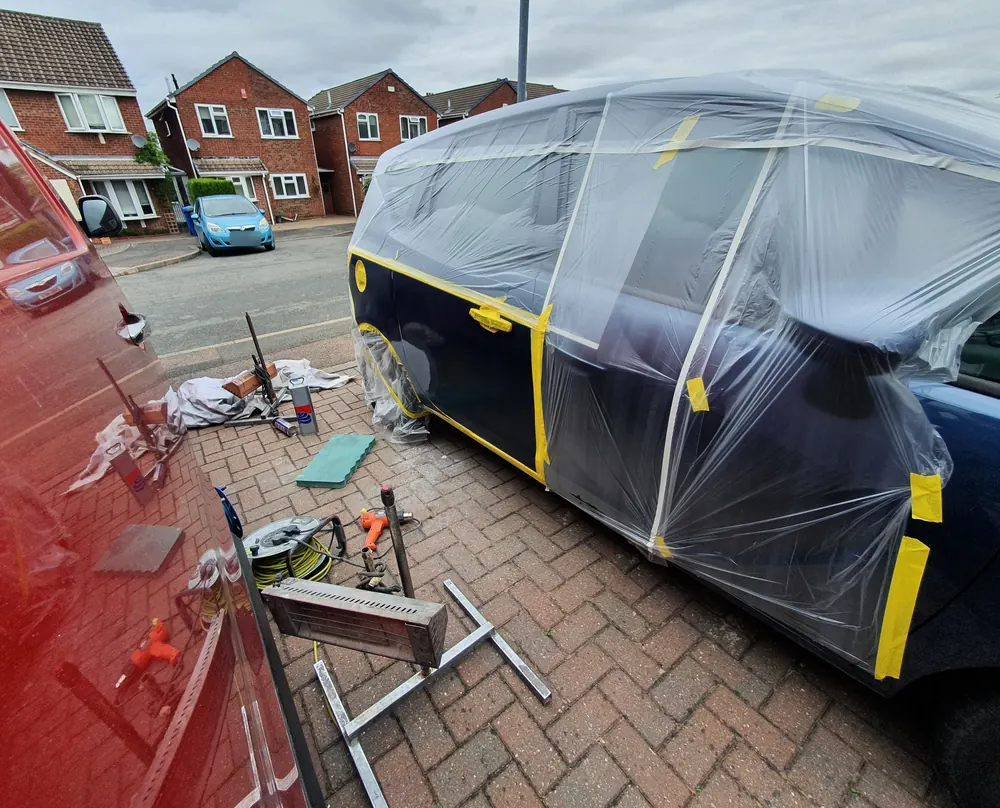
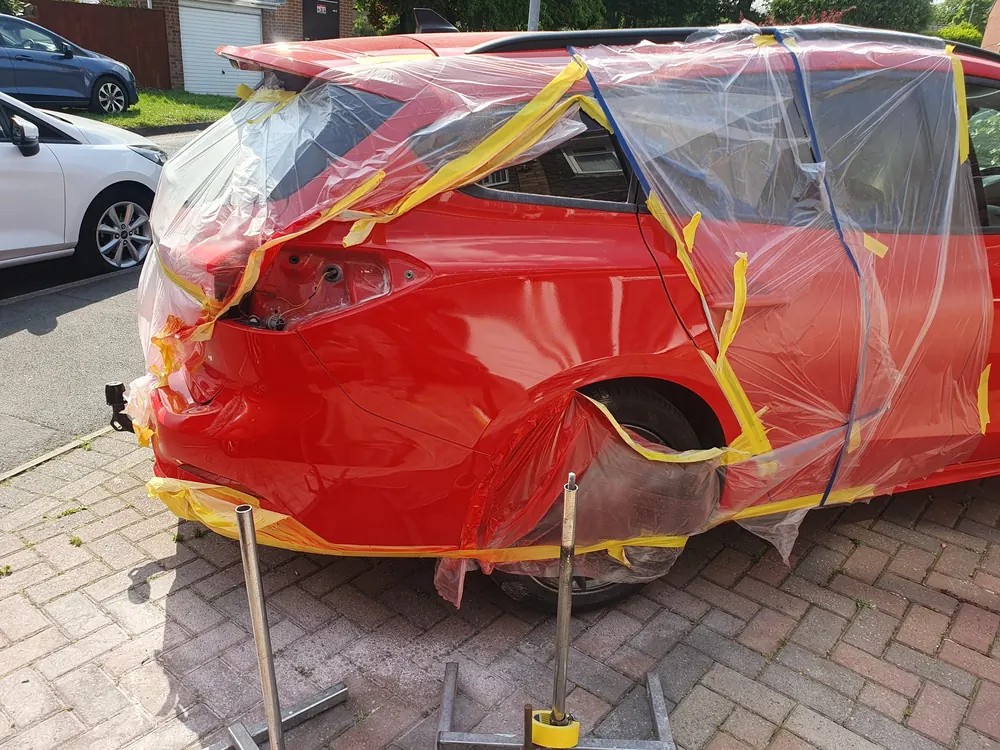
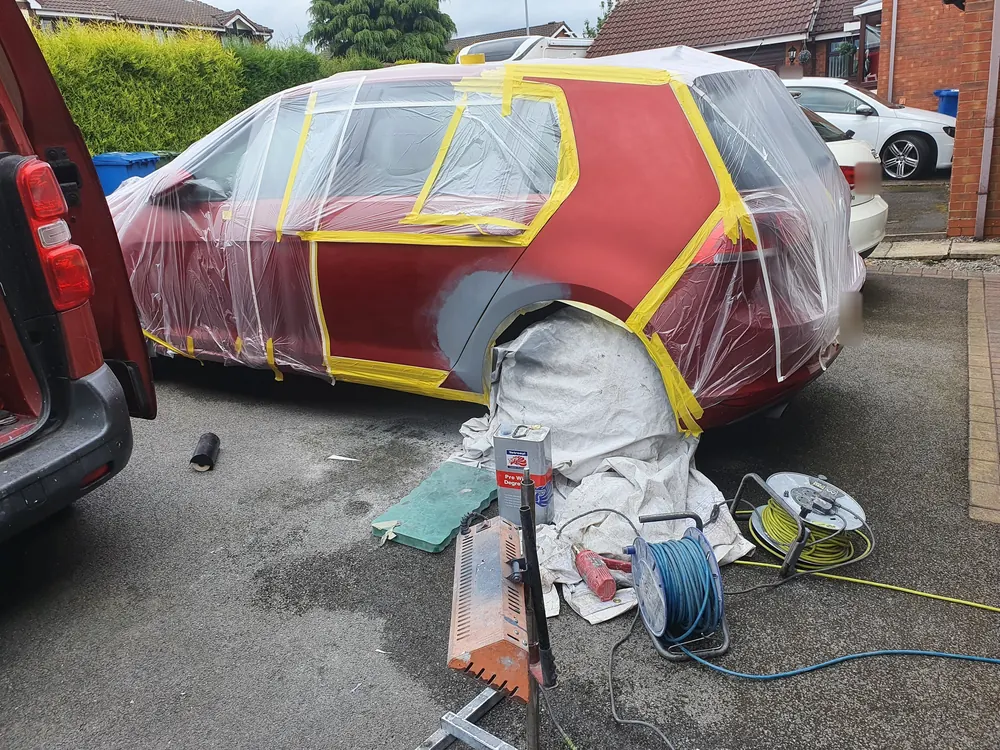
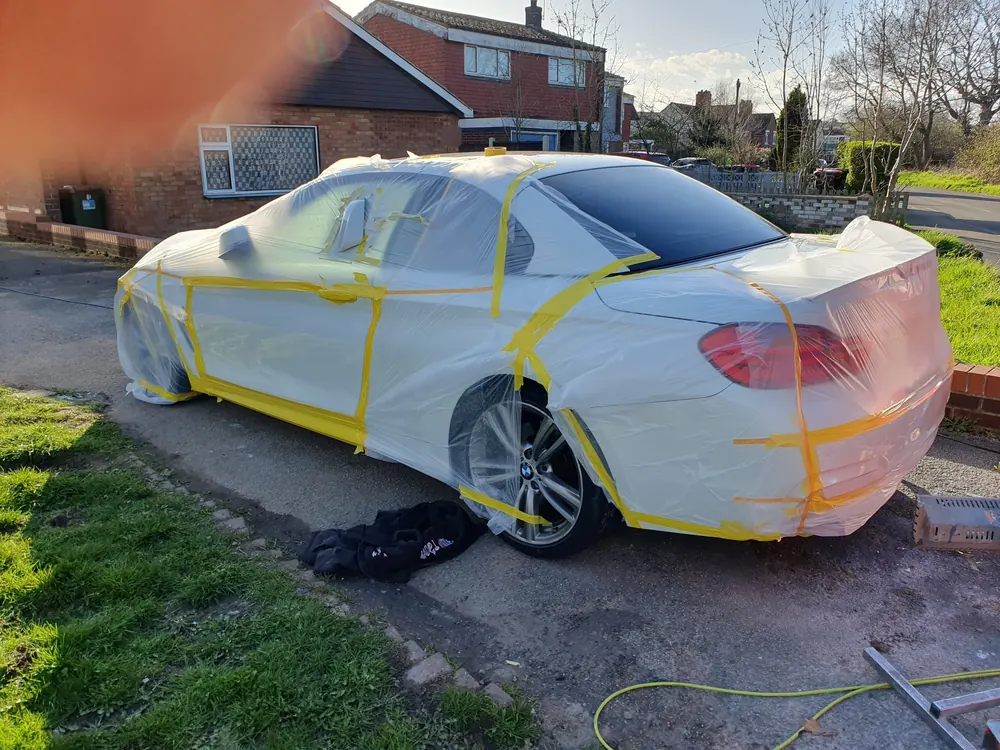
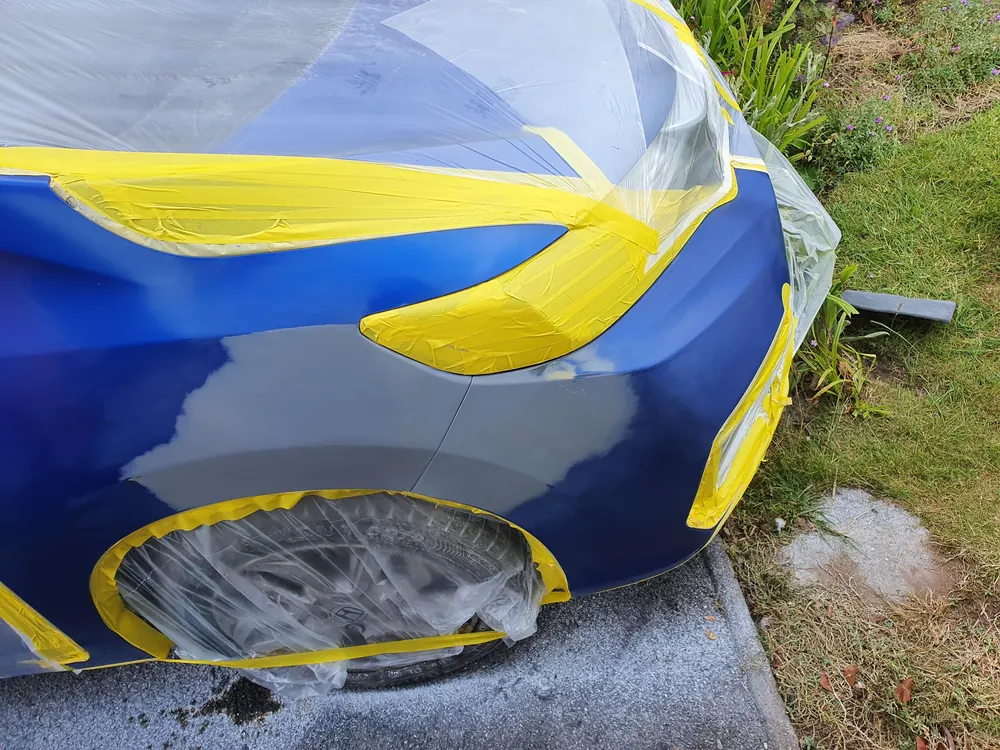
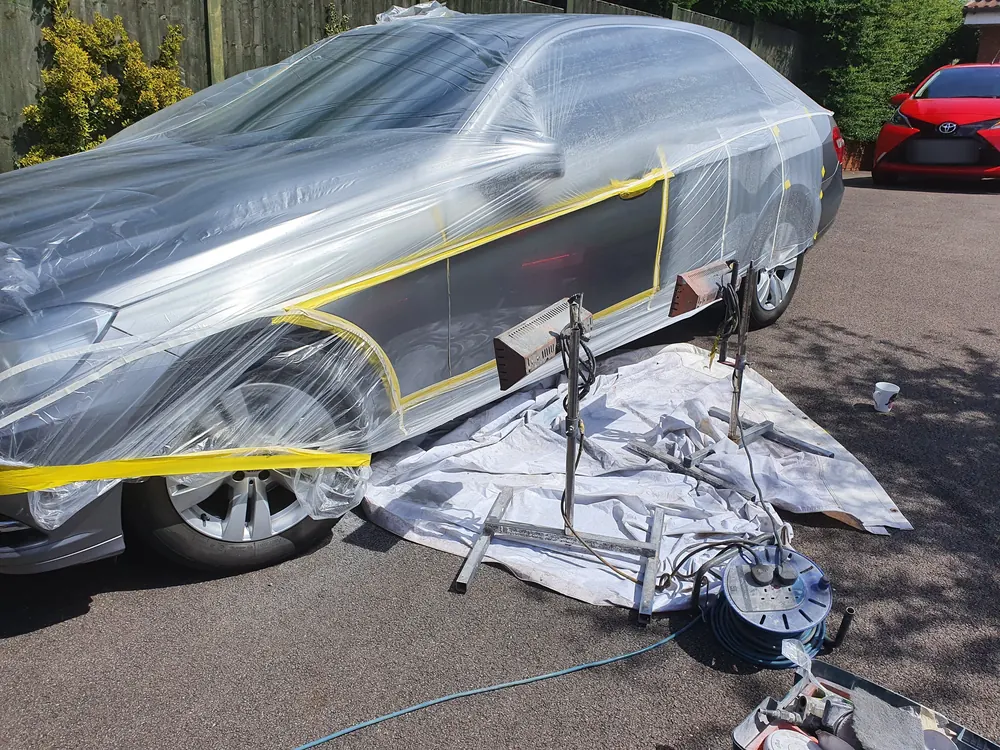
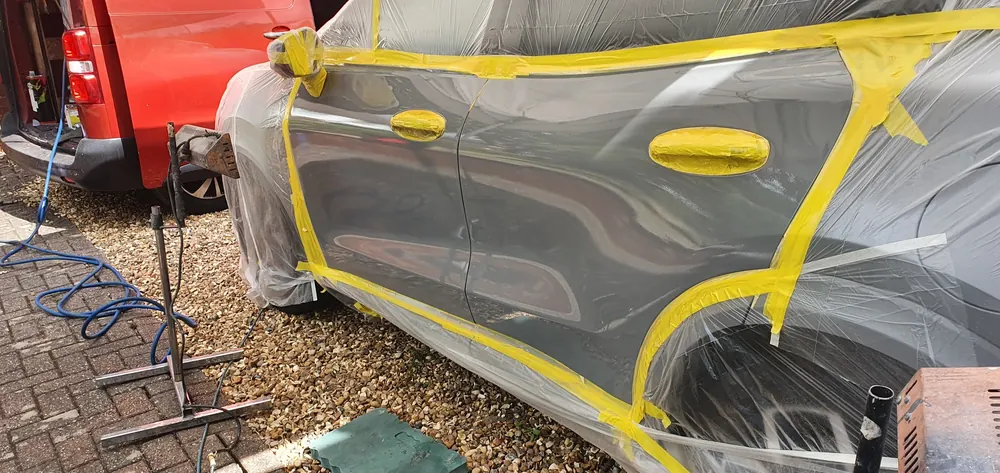
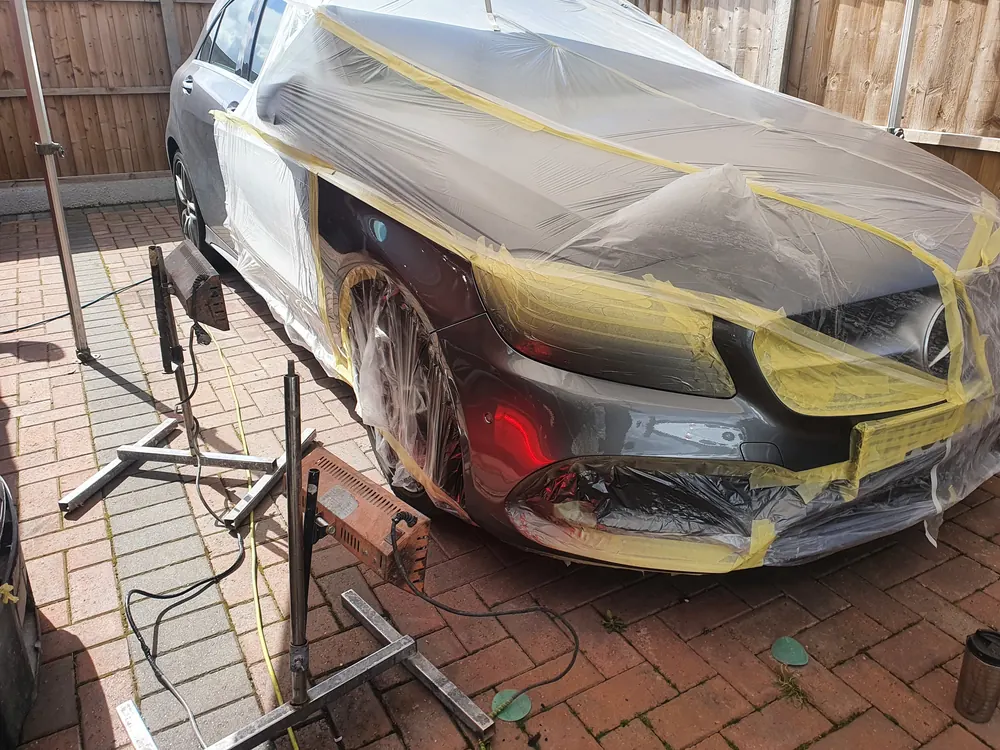
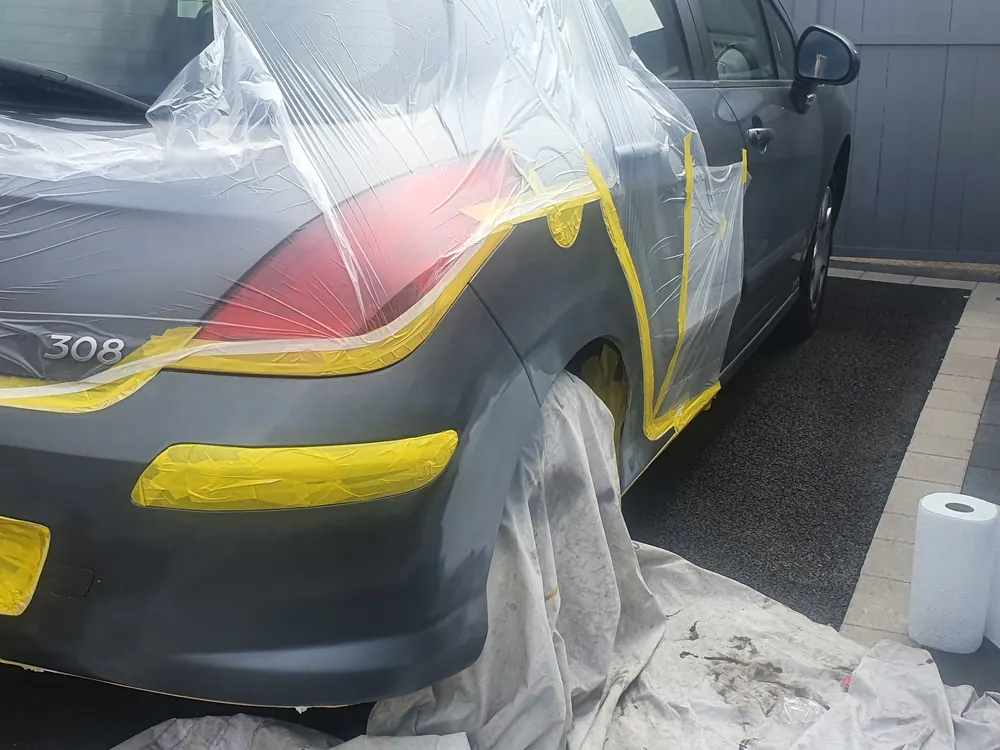
Masked up for paint

Cars taped and sheeted off for paint.

Reviews

What customers say

5.0 from 64 Which? Trusted Traders reviews and 5.0 from 19 Google reviews, checked 13 Nov 2026

“James is a really nice guy and friendly, he came to sort some damage my lad had caused to his rear bumper of his corsa. James came well prepared and done the job to perfection, area he treated looks car showroom finish. Price was veey good to. Highly recommend james”

Customer in StaffordshireWhich? Trusted Traders review

“James did a great job on my Moms car. He came a while ago to quote and then booked an appointment to come to my house to do the work. He kept to the quote though found a bit more work than expected and he came on time. He’s a lovely man and very hard working. His work was faultless. I’d recommend him to anyone.”

Denise in StaffordshireWhich? Trusted Traders review

“I contacted James after being highly recommended. He gave me a very reasonable quote for a wing replacement on my 18 years old Volkswagen Golf. He carried out this work on my driveway very cleanly and efficiently and in addition dealt with any other scuffs and scratches at no extra cost The car looks almost new. So pleased. He is such a nice friendly person to deal with. Highly recommend.”

Customer in West MidlandsWhich? Trusted Traders review

Tamworth · Staffordshire · Warwickshire

Scratched, scuffed or dented? Call James for a quote

We're fully mobile, so we come to you: at home or your place of work. Open Monday to Friday, 9am to 5pm. Call 07855 866684 or email [email protected].

Call JamesGet a quote